Author Archive | megan

Fall In Love With This!

So you already know how much I adore ‘lovey dovey’ Valentine’s day projects, so here are two more simple decorative crafts for you to share with the love in your life!

Let’s start with the painted milk jars.  Such an easy and inexpensive way to create a personalized piece on your table!  When you see how easy it is, you’ll agree that you could get creative for any occasion, the possibilities are endless.

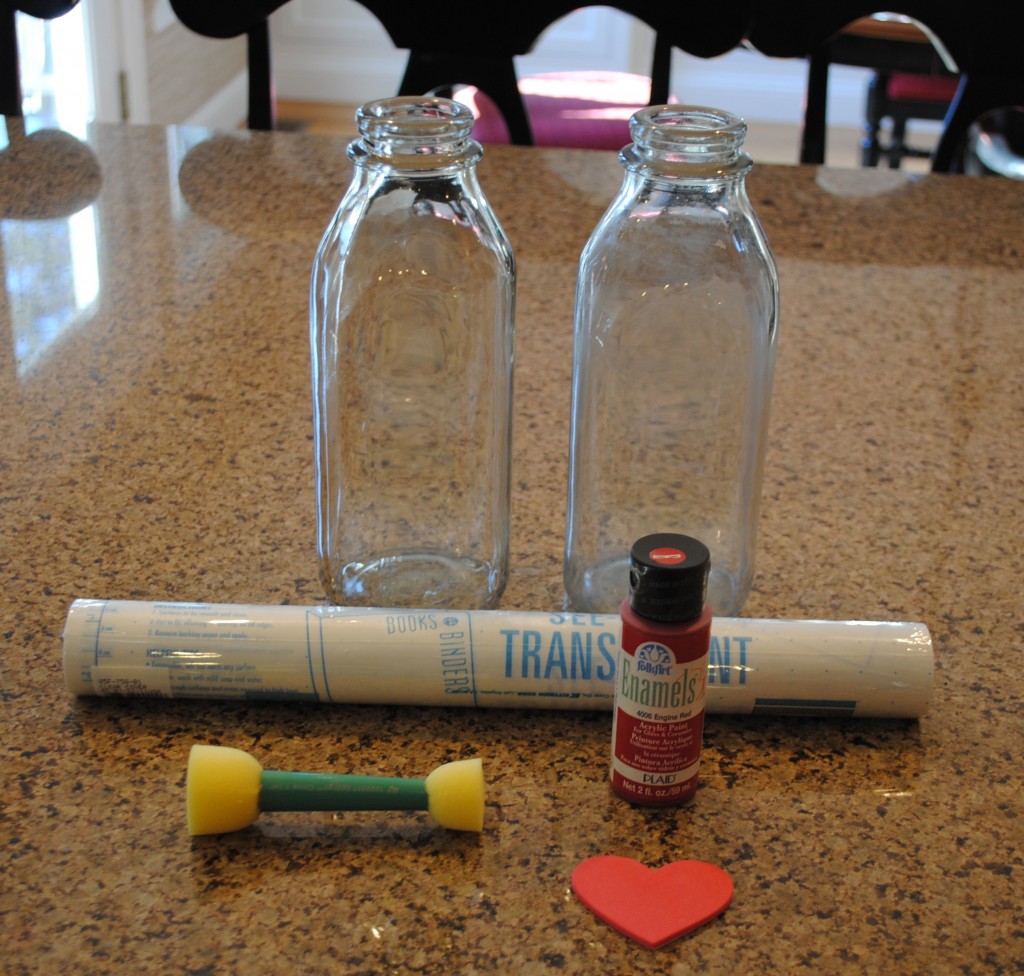
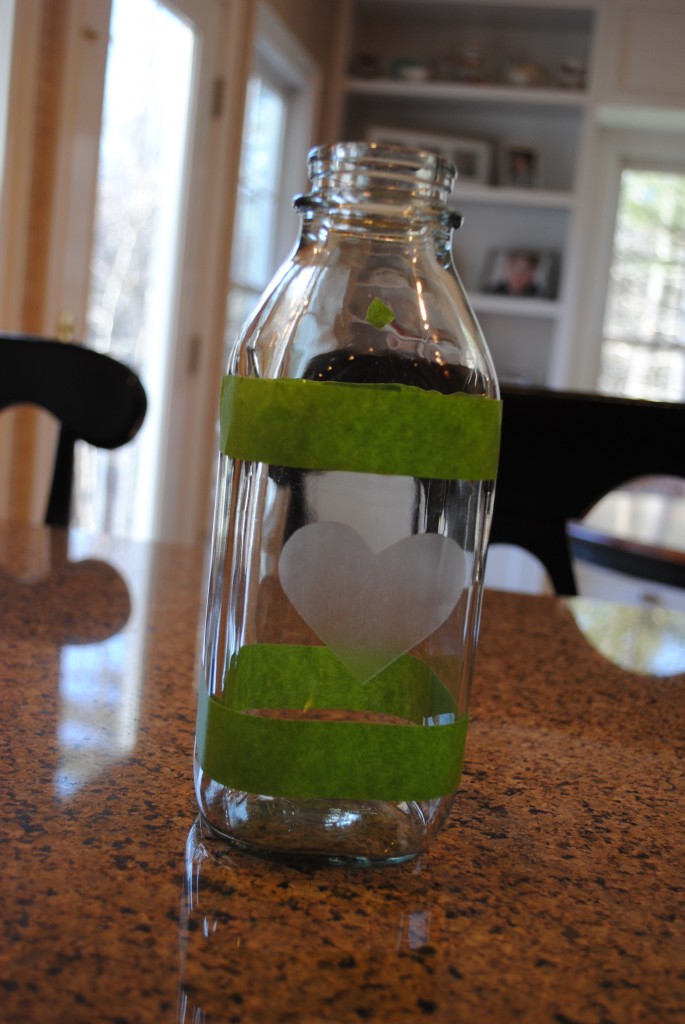
I started by tracing the heart shape onto the contact paper and then I cut it out and adhered  it to the center of the jar.

I used my trusty Frog Tape to create a band around the glass.

The project is prepped to begin painting…

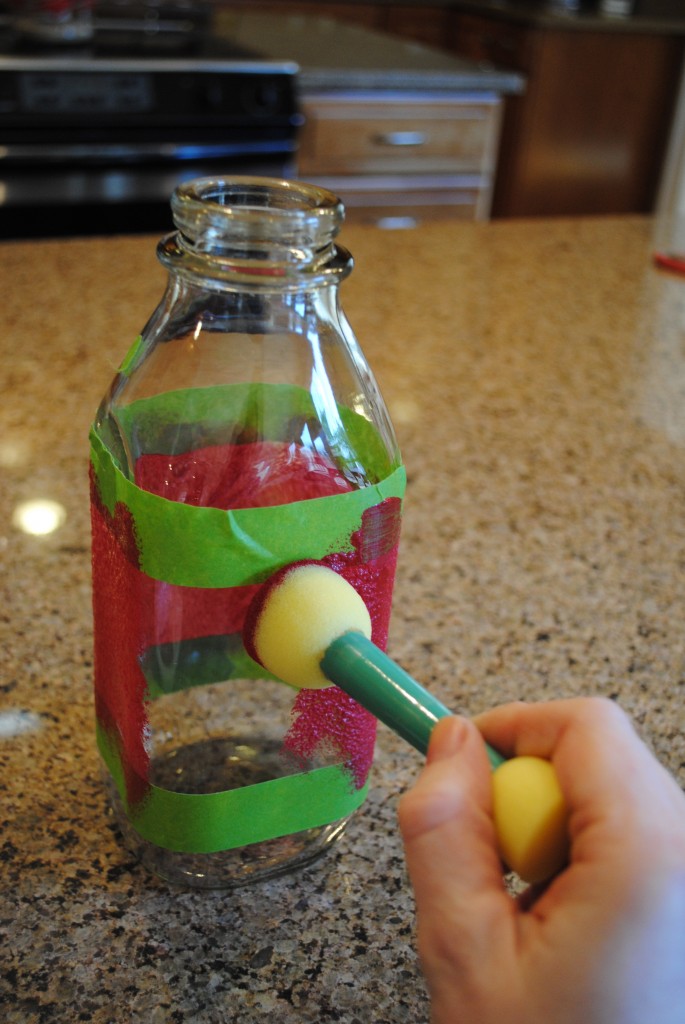
I picked up some Acrylic Paint in Engine Red. This stuff is made for glass and ceramics (seriously, it says ceramics, clearly someone at paint headquarters loved the early 80’s) but for reals it’s pretty awesome!  I used my paint dabber (I only use technical terms here) and dabbed two coats around the whole jar.

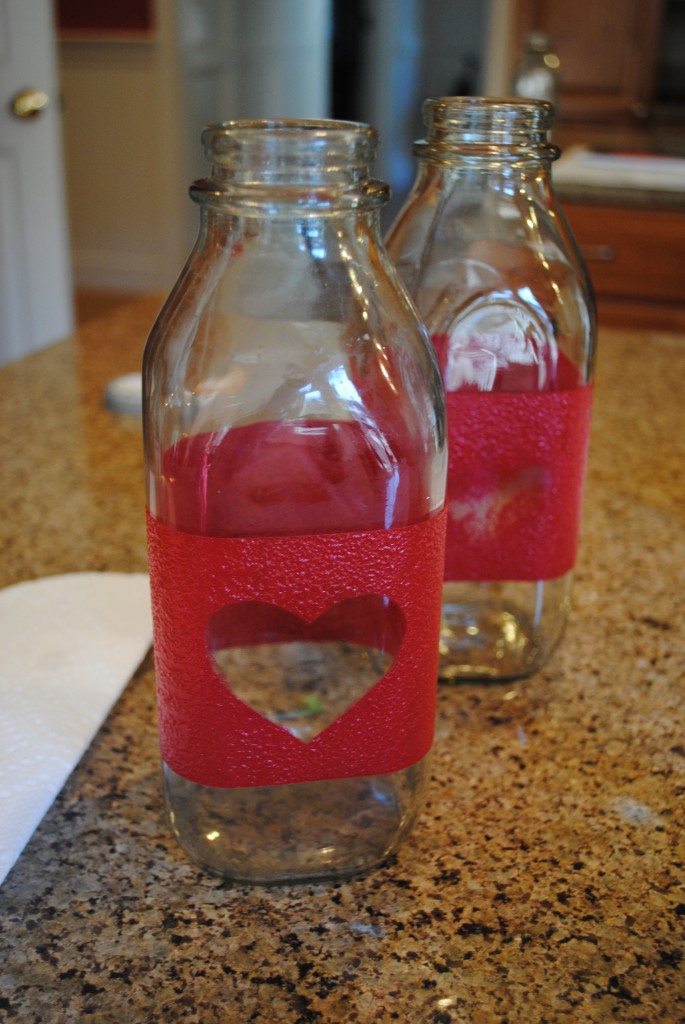
After I finished the second coat I removed the frog tape and the contact paper heart.  You can see the one in the back…the heart has not been removed…and that’s the tricky part.  You want to remove it before the paint dries so you don’t peel dried paint off with it!  So the trick I used was a little push pin to lift off a corner then I pulled it off.  It’s that simple!

Now onto the platter…

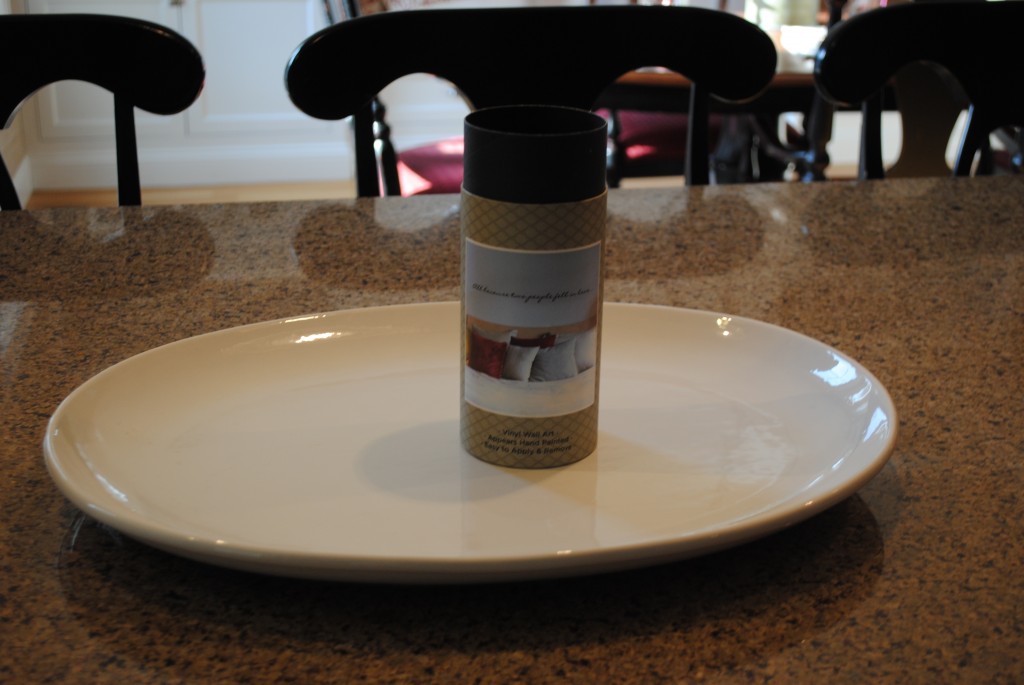
While shopping at Home Goods (love that place) I found one of those vinyl wall saying that was perfect for this party and only $9!  It took me a while to figure out exactly what to do with it, but this $8 platter from The Christmas Tree Shop was the perfect solution.

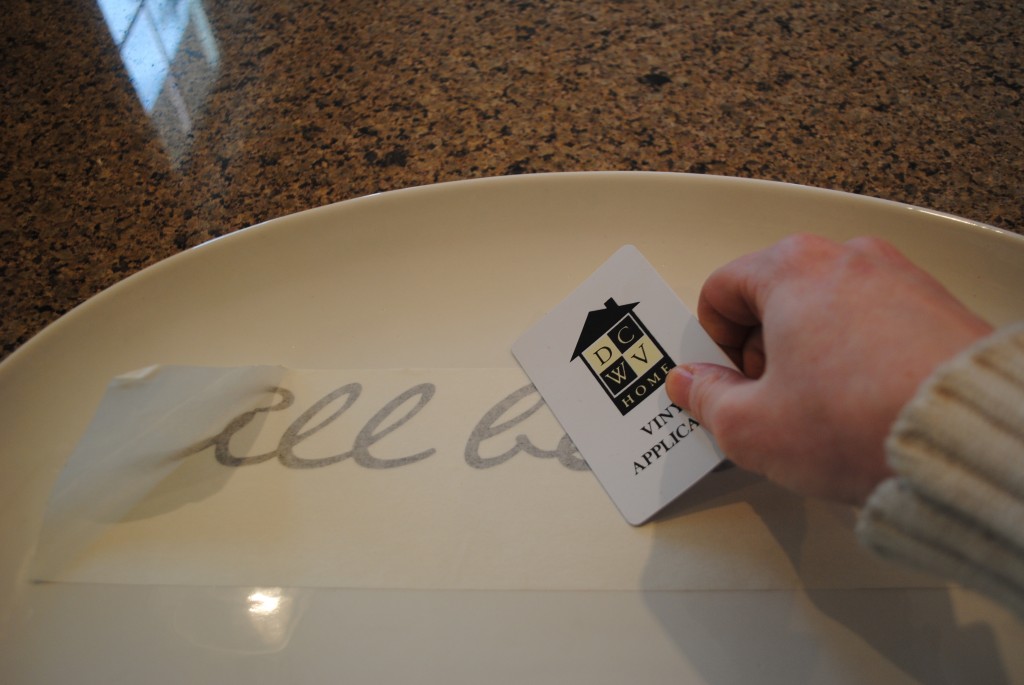
I cut the saying to fit on the platter with the proper spacing then I followed the application instructions.  After the quote was adhered to the platter I hopped into my  time machine and used the acrylic paint for my “ceramics” and painted three little hearts to finish off the piece.

So what are you doin’ for your little love bugs this year?

0

A Little Love Song

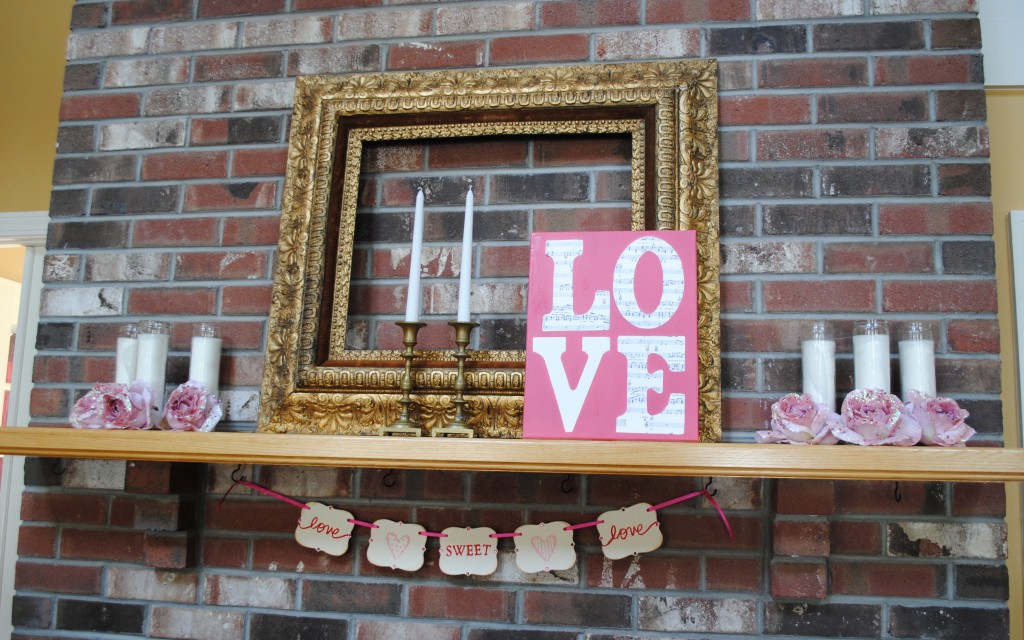
It’s party time again!  Time to share an event I’m working on that I just LOVE!  I heart Valentine’s Day, and for this post I’m going to show you a super easy craft idea I used to decorate a mantel.

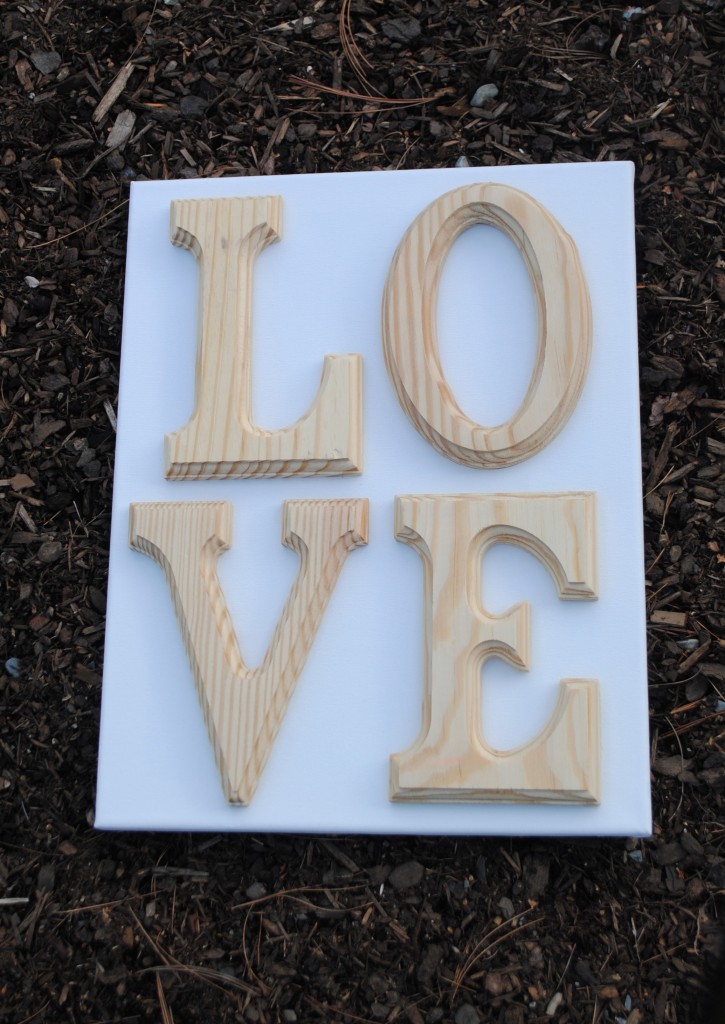
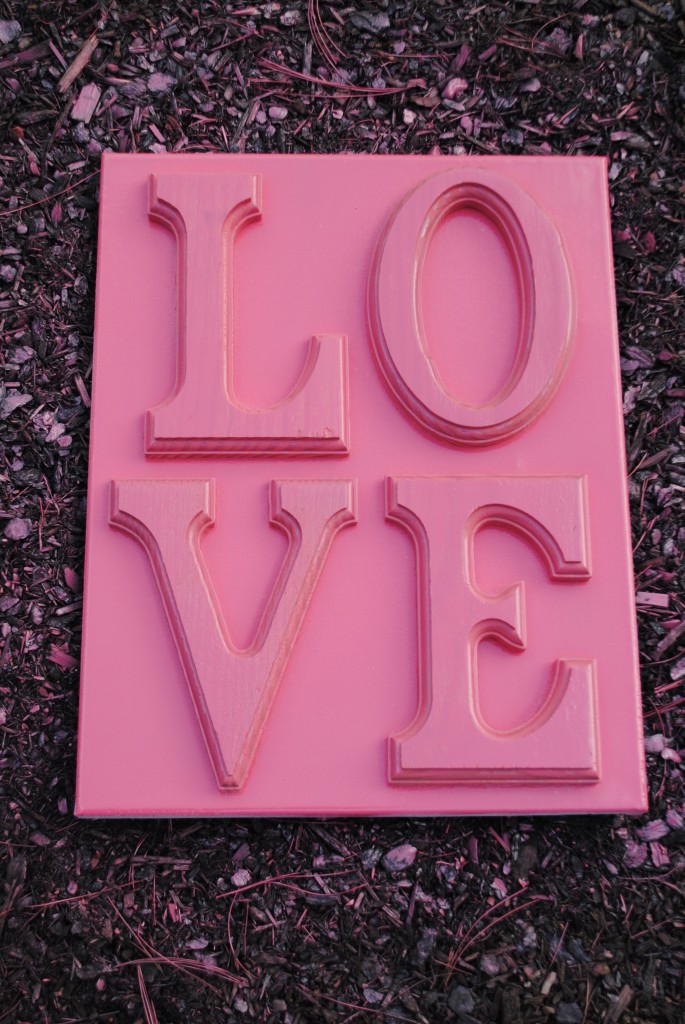
I’m always thinking about the budget when I’m decorating for an event, so of course I head to the dollar store to start my shopping!  For this project I picked up some wooden letters, a canvas, and some spray paint.

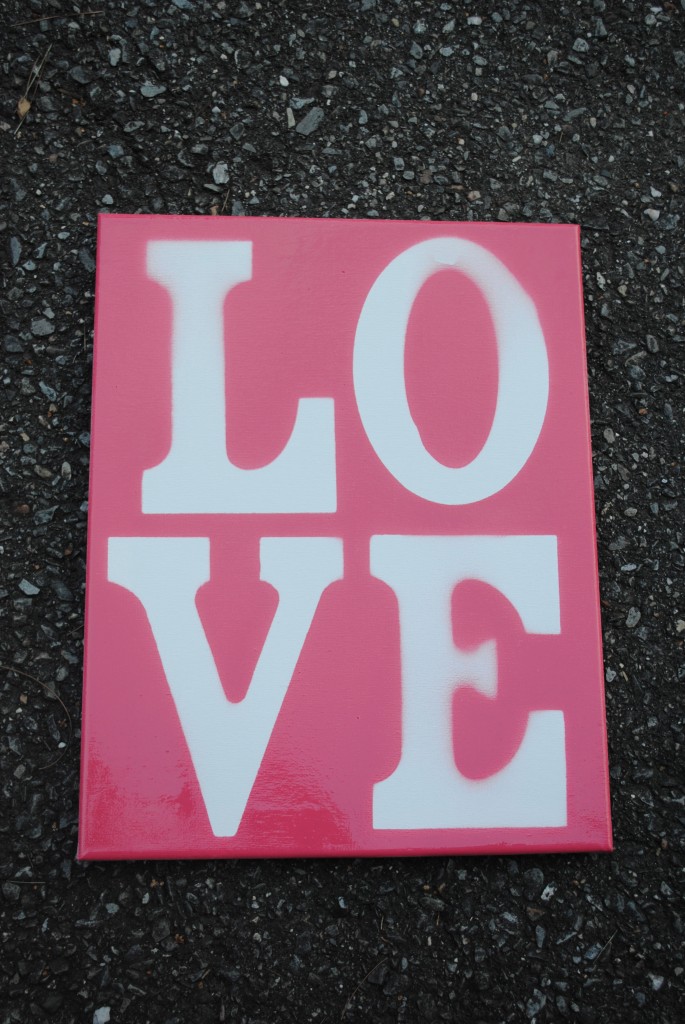
I laid the letters on the canvas and went wild with the spray paint!  (OK…not really wild…but rather three light coats)

And then it looked like THIS!  Once the paint is dry you can pick up the letters.  Great thing is, this craft is like two in one, as I used the pink “LOVE” letters to decorate a different area of the room.

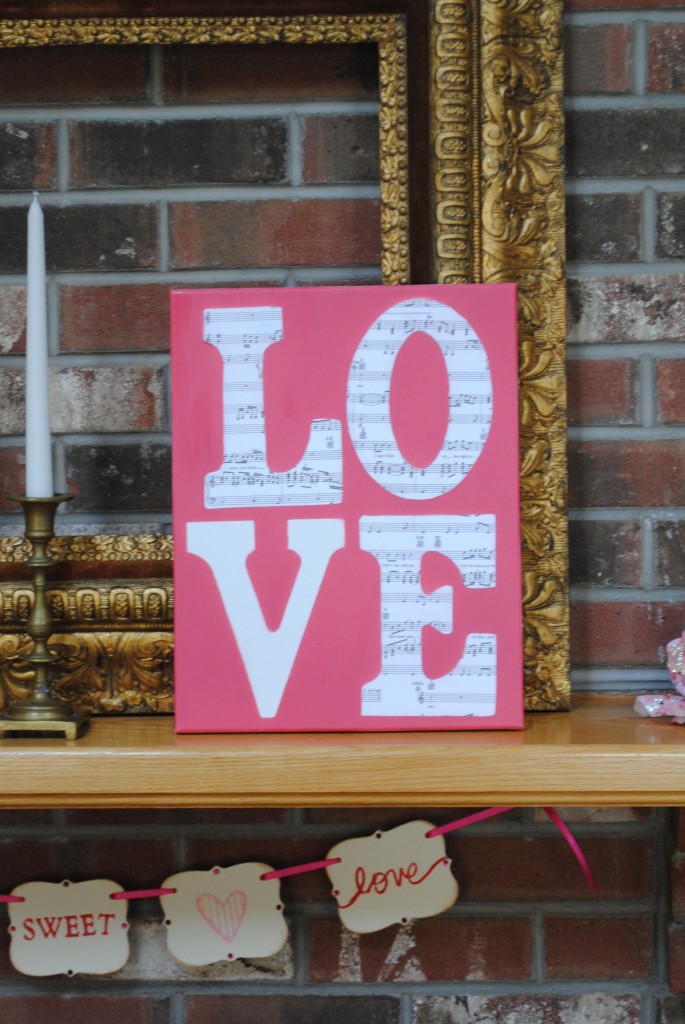
So, maybe there was some truth to going “wild” with the spray…cauz you can see how some of the letters look a little fuzzy.  Well, if your wooden letters have staples in the back, take them OUT before you spray paint, or your end up with teeny bits of paint under certain areas of your letter.  (Clearly, there was no staple on the back on the V)  But I’m crafty, I can fix it, so I came up with another plan that I loved even more than the first.  I decided to call this piece “Love Song” and Modge Podged my way out.  Happy accidents are my favorite!

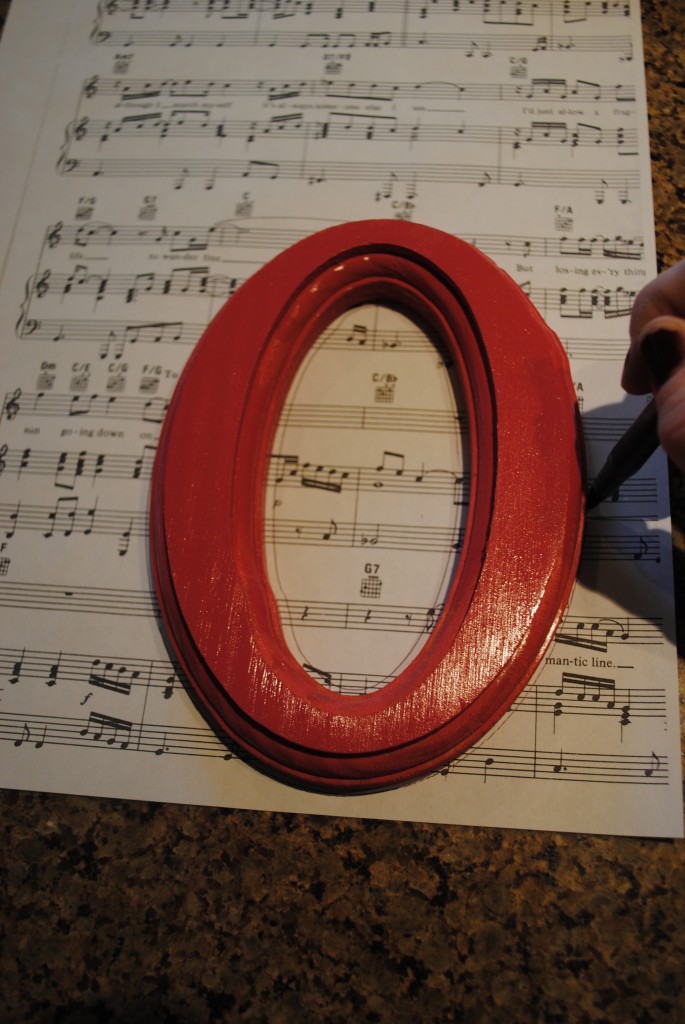
I popped open the piano bench and dusted off some of my favorite tunes.  (See Mom…I can still read music!)  Don’t worry, I didn’t wreck the book, I made photo copies.

I traced and cut out the letters, well most of the letters, I thought it looked pretty to leave my perfectly painted one white!  I worked some decoupage magic and it was done.  So simple and so pretty!

I hope cupid finds his way to your home this year!

0

In a Cabin in the Woods…

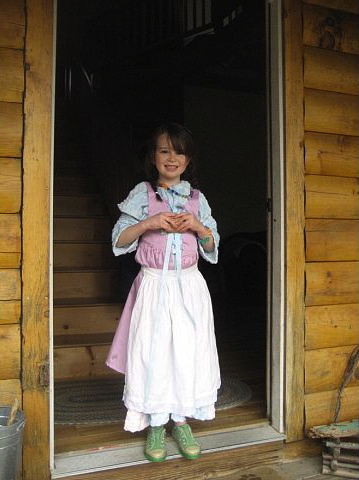
I have a cousin who is pretty amazing.  Not only does she have four kids, but she home schools all four kids, in a log cabin in the woods of a small seaside community in Maine.  It’s like Little House on The Prairie…for real!

I make the five hour drive with my boys once a year.  I always look forward to our time together and appreciate how we live such different city mouse / country mouse lives.  I love the coziness of the wood stove heating her home and the convenience of the fresh eggs in the morning.  Although, if you know me, you’ll know that I’m not a real “outdoorsy” person.  The closest I’ve been to camping is when we lost power for 5 days (twice…and let me tell you…you can hook up a lot with a little generator).  They love to laugh at how I’m so NOT a Mainer!  Maybe I do sprint from the car to her front door if we get home after dark (They HAVE bears in them woods!) but all that aside (I wonder what new farm animal they will have this year?!?) Kelly has a wonderful eye for cottage style decorating.  I swear her home could be in a magazine!

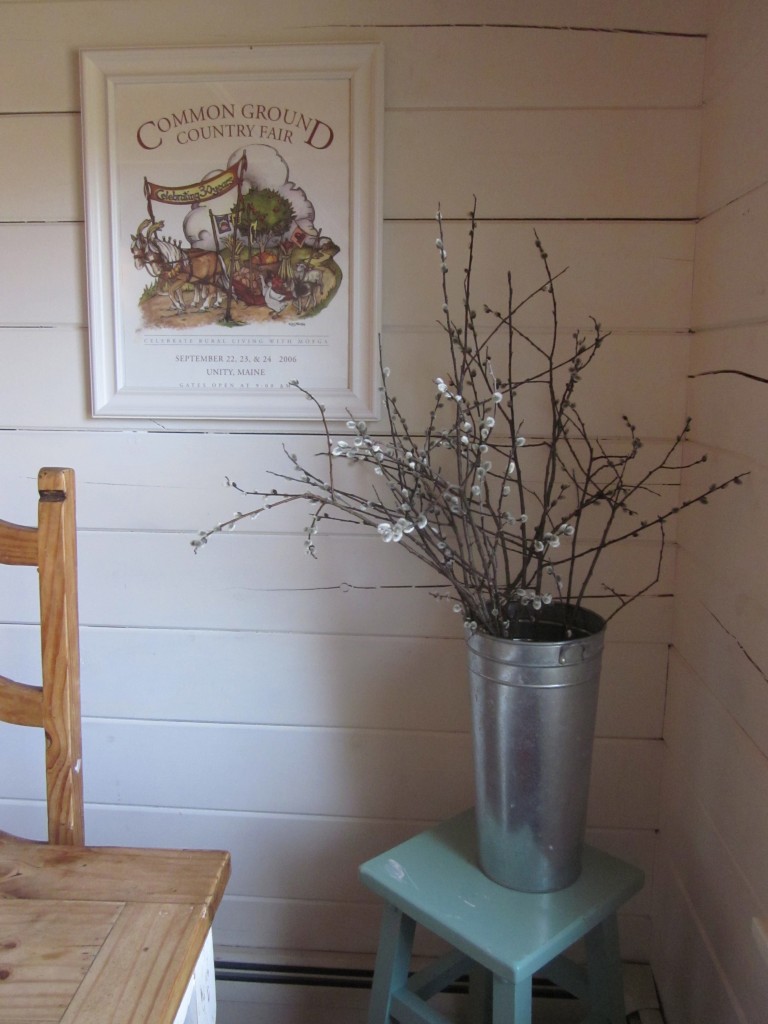
She uses such simple things and makes them look so elegant!  She also has a keen eye for antiques. And let me tell you, they certainly do have tons of amazing antique stores up there, but that’s another post for another time!

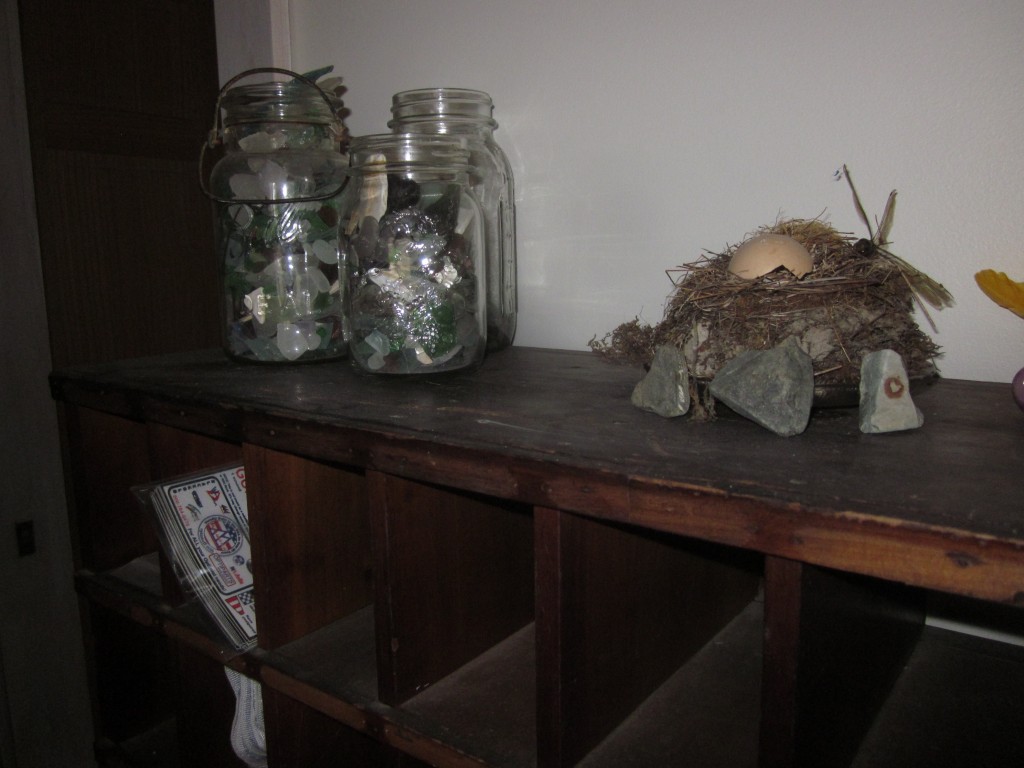
Here in the hallway she used an antique apothecary cabinet.  The kids can put their stuff in assigned cabinets while their sea glass collection adorns the top.

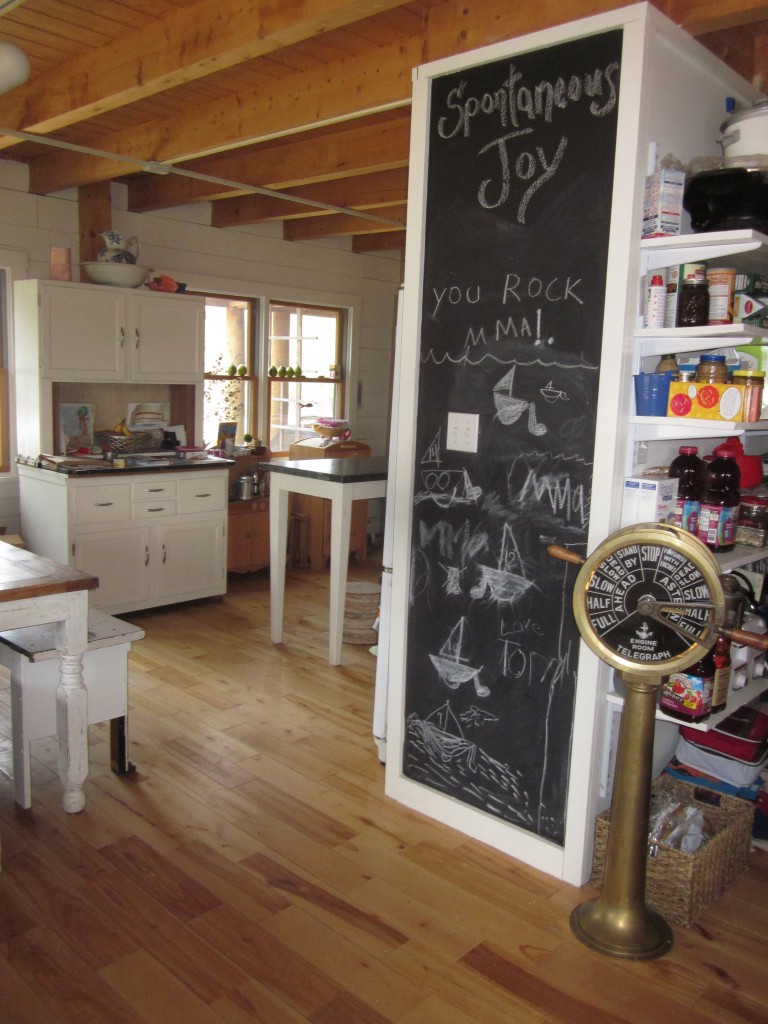
Kelly’s cozy kitchen seems to be an ever changing work in progress.  Every time we visit, wether its the layout or an antique, there is always something new!  Even the bench in her kitchen was repurposed from pieces of our grandparents old piano.   I also love all the nautical elements, as her husband is an olympic sailor!

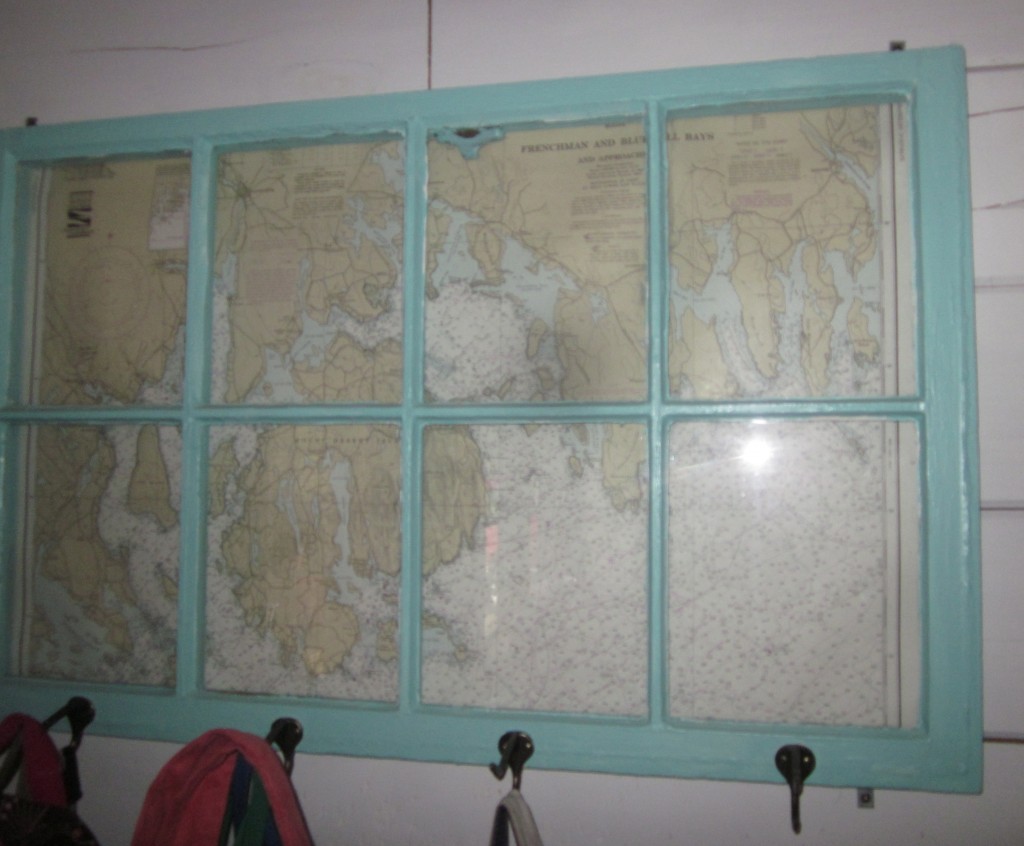
But what sparked this blog post was her most creative mudroom…I just had to share it with you.  First of all, I love reclaimed windows!  Here she used a robin’s egg blue paint and backed the window frame with a complimenting nautical map.  It certainly makes a stunning coat rack.

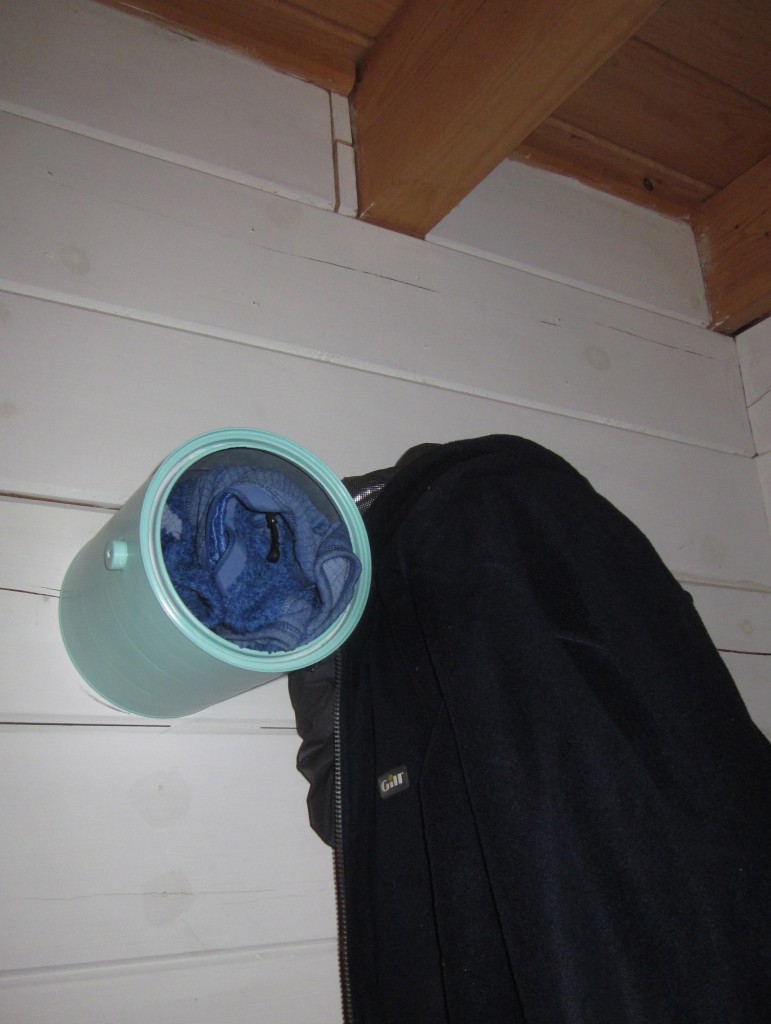
But the best part of all was on the opposite wall!  Paint cans are used as coat hangers…the perfect spot to store your hats, scarfs, and mittens.

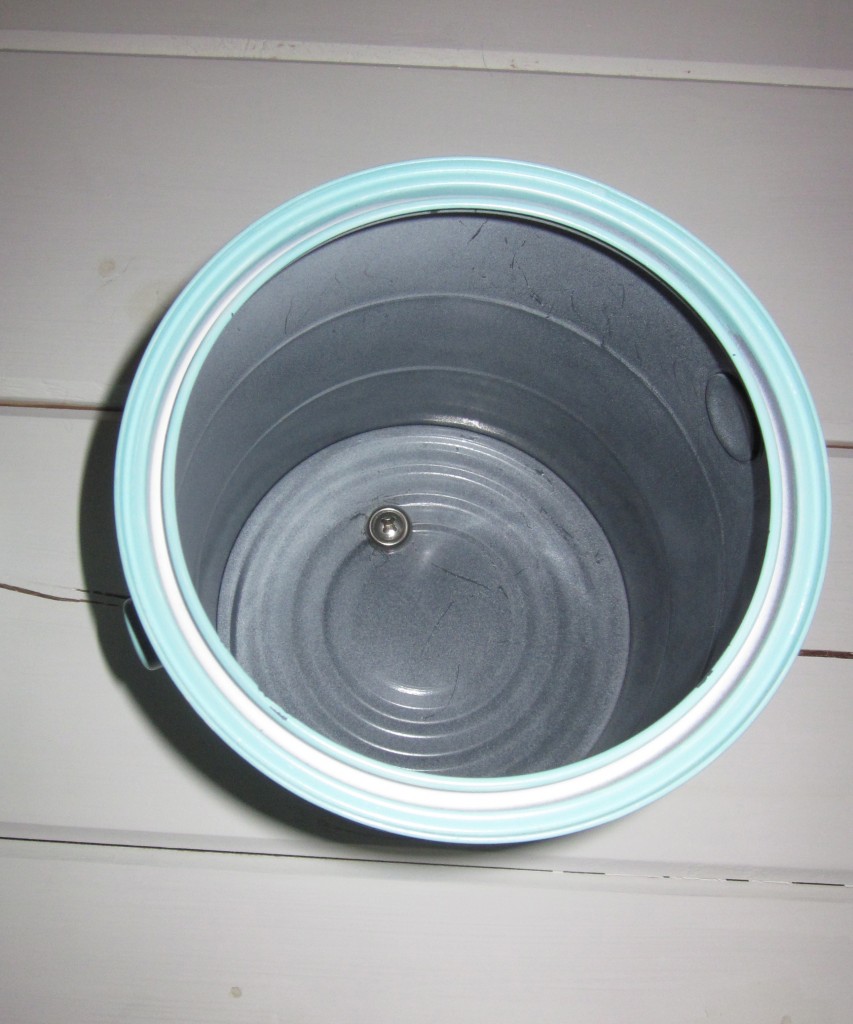
What a creative use of old paint cans!  Seriously…how many of these are filling up landfills?  And it’s so easy too.  She cleaned out the cans, removed the handle, and painted them!  You can do it too by simply drilling a hole in the bottom of the can and attaching it to the wall in your mudroom (depending on how heavy your coats are, you might want to use an anchor).
With these recent posts, this could be the month of the mudroom makeover!  Did this inspire you to do a Do-Ovah of your mudroom?  Do you have a creative mudroom that you’d like to share?  Lemme know…maybe you can be featured as a Do-Ovah guest Bloggah!


5

Fireplace Do-Ovah

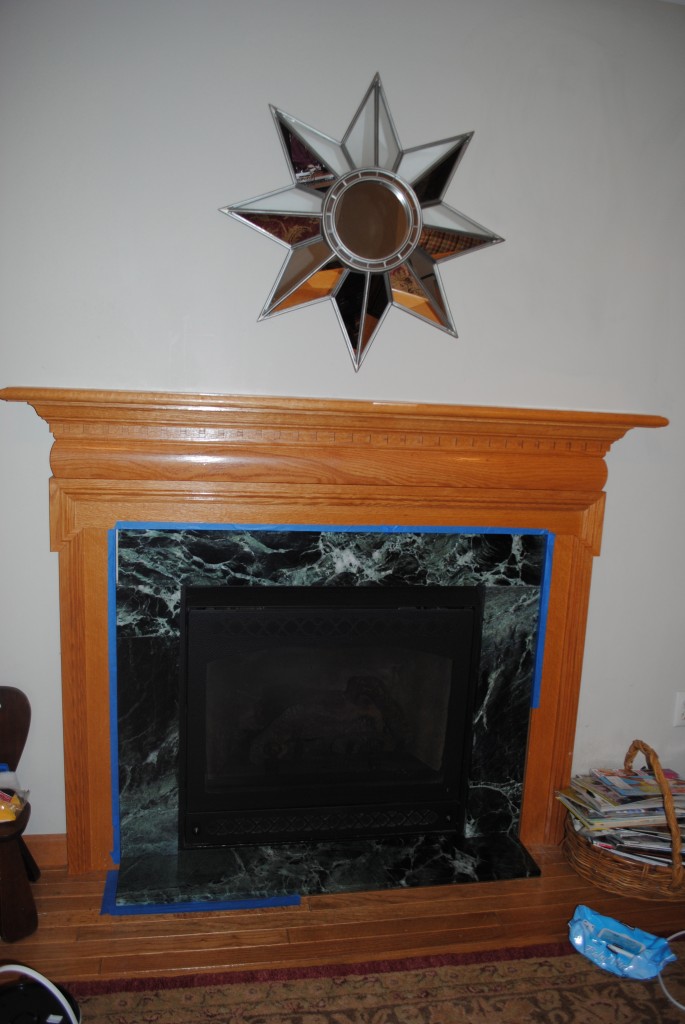
Not too long ago I posted THIS on my facebook page.  I love this blog!   They are always so inspirational and have such amazing DIY ideas.  They ended that post with a quote that I loved:  “Every accomplishment starts with the decision to try” so needless to say I was thrilled when I got the call to Do-Ovah a fireplace, I wanted to try!   Full disclosure – I have absolutely no experience with this, but my girl S. was on board, we were gonna do this together and, although we are not masons, we were pretty confident we could figure this out.  With a little research and several YouTube videos, we were ready to take on this monster…

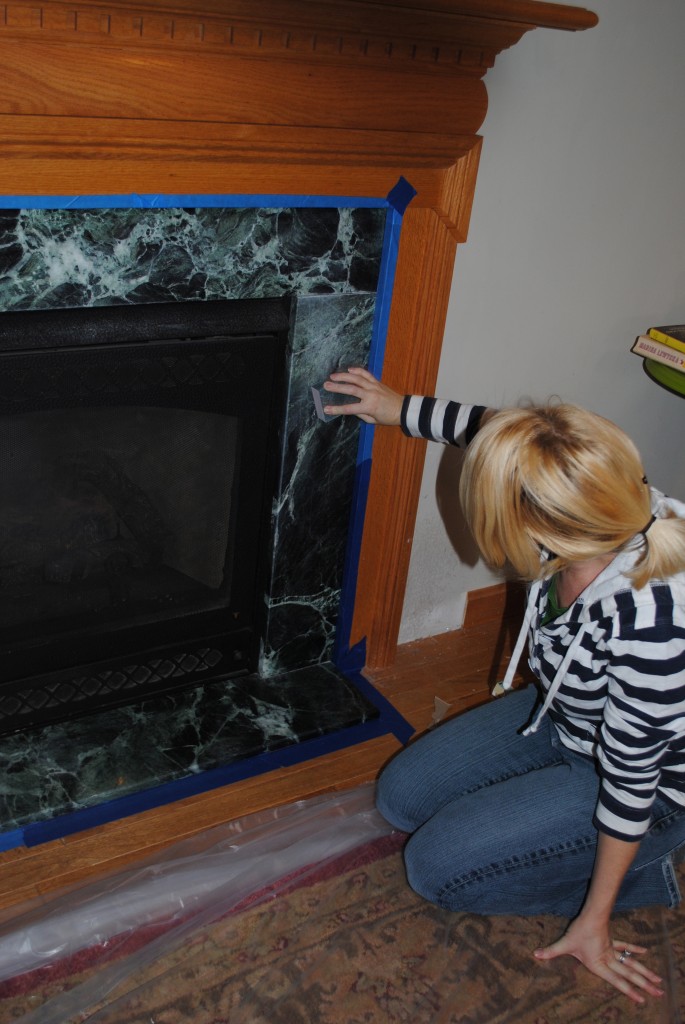
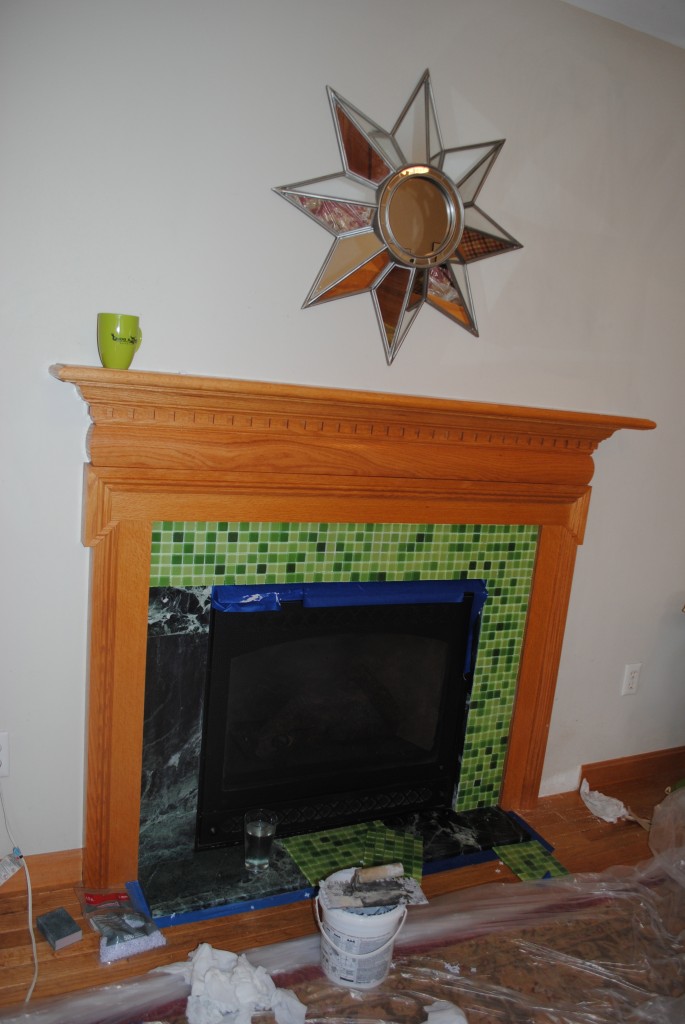
First, we talked to about a zillion people about the process of tiling over marble and YES we got a zillion different responses, at least a million of which could not believe we were actually tiling over marble…but I digress.  First we roughed up the marble surface with sand paper.

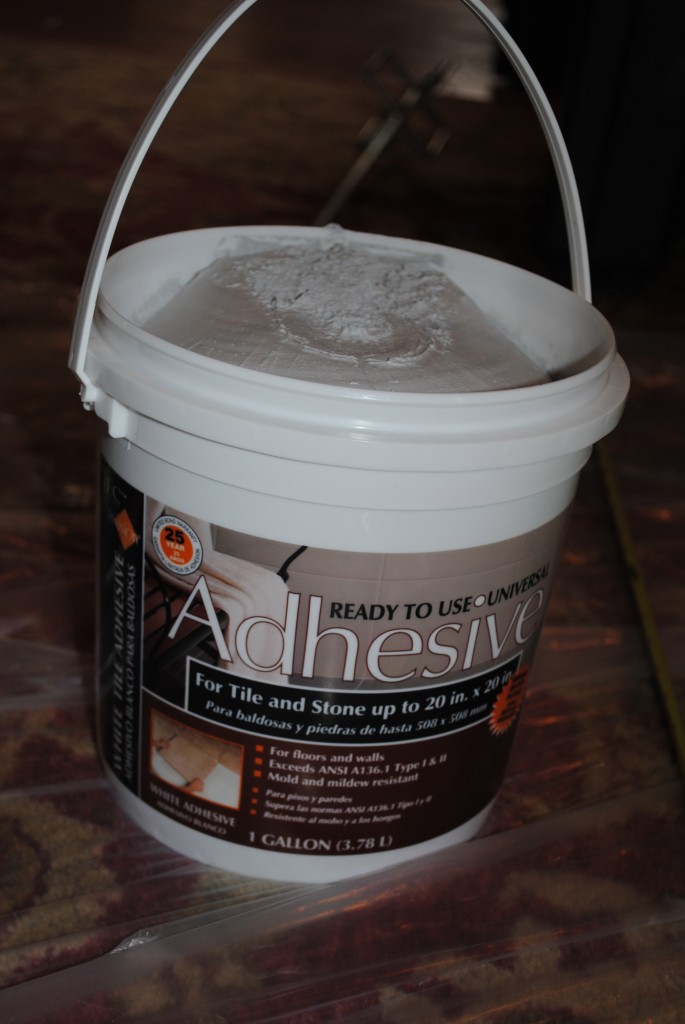
Once that was roughed up and wiped down, we used this adhesive to stick those little suckers on.

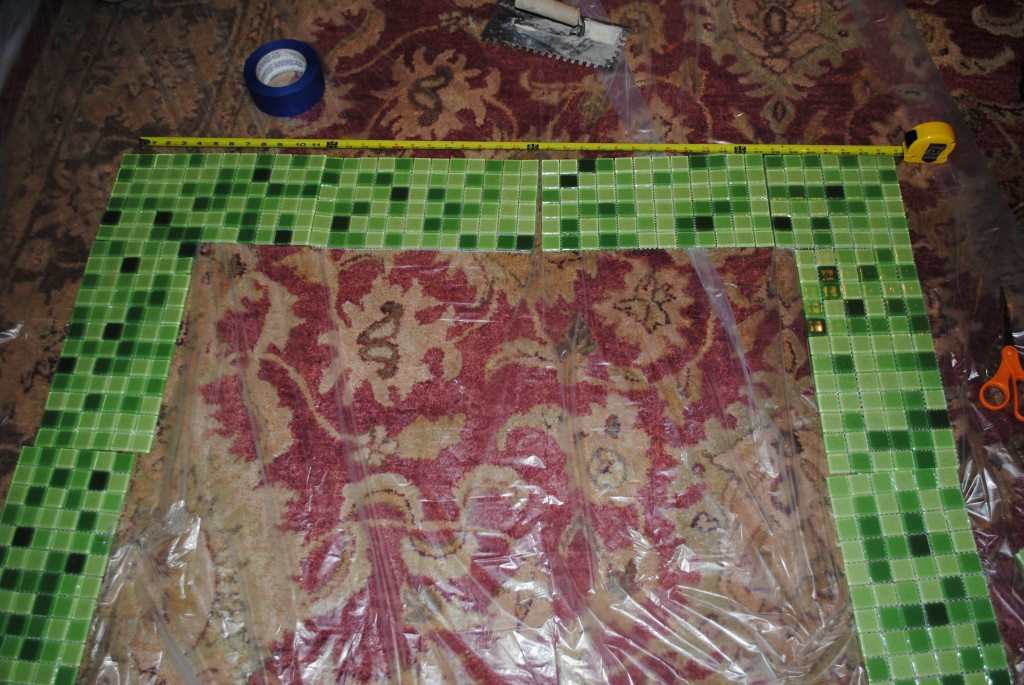
Two little hints we’ll give ya.  First, did you notice the painters tape around the tiled area?  Yeah, don’t do that!  It was a complete horror show when we tried to pull the tape off when the adhesive started to dry.  Second, measure and lay out the tile before you start…it will save you lots of headaches when you have the adhesive smeared and ready to go.

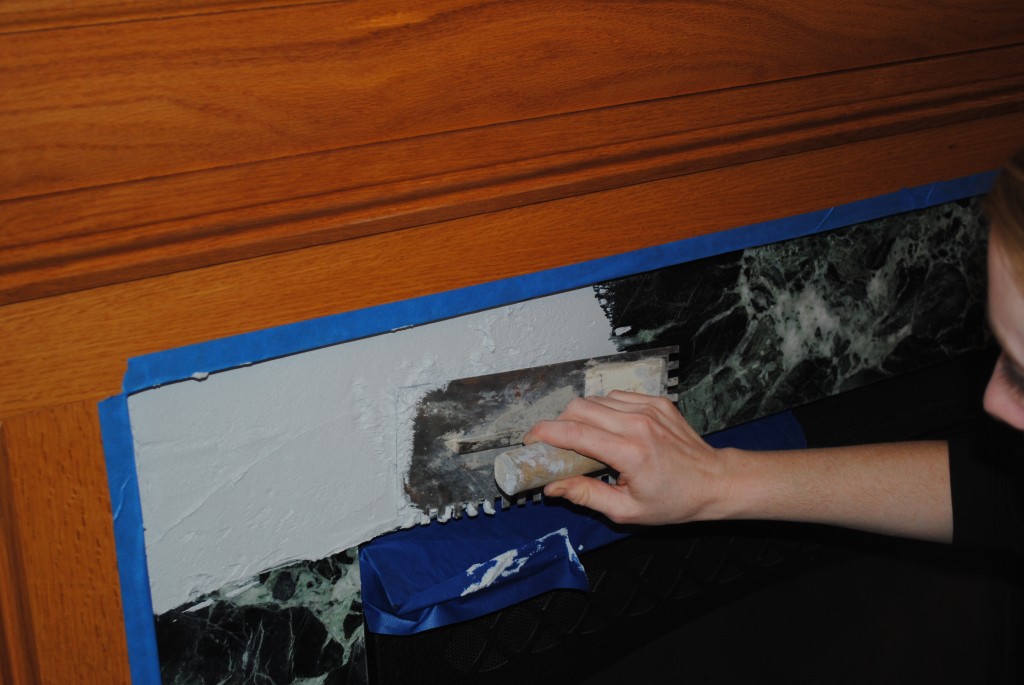
OK, now onto the smearing (yup..totally a technical term.  Herein all professional jargon)  So we scooped a big goop of gunk on the trowel and smeared it onto the marble and made it wicked flat but not too thick.  Then, my favorite part, you pull the teeth side across the gunk and make cool groves.

We plopped our tiles into the goop and held it there for a few seconds…then it was onto the next section!

We even had time to stop for a coffee break (as long as the mug was color coordinated of course), but what a difference already!  After all the tile was stuck into place and the adhesive had time to dry, we grouted with an Oatmealish color (after YouTubeing the grouting process of course).  In short, think “wax on, wax off”.

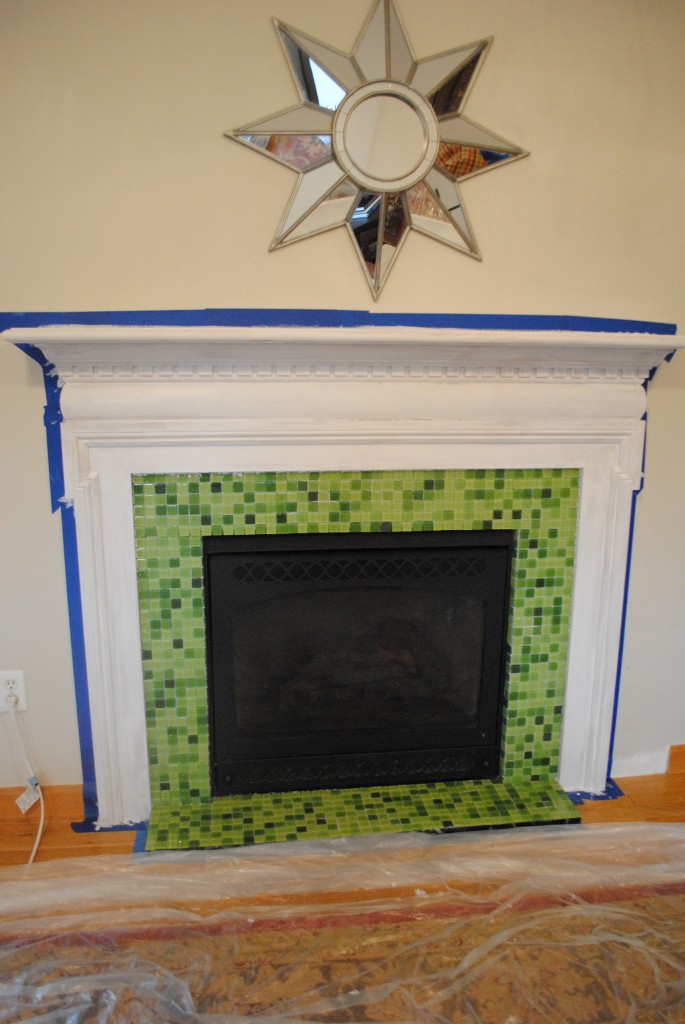
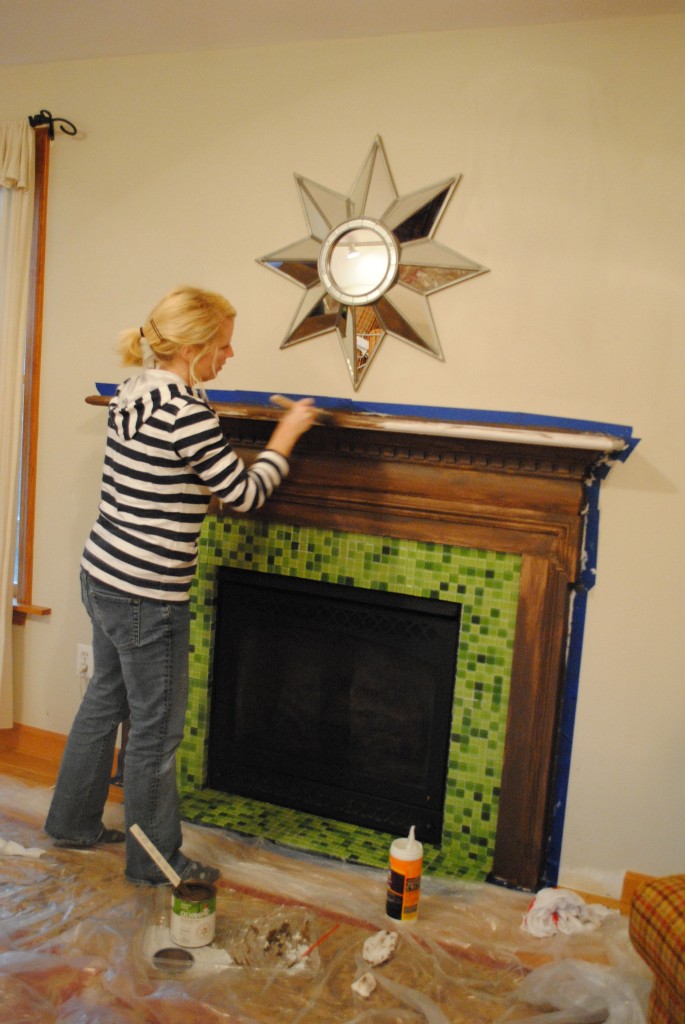
Now that the tile was done, it was time to work our magic on the rest of the mantel!  We kept that part pretty simple.  We started with some primer that would adhere well to the glossy surface.

This certainly confirmed the fact that we did not want a white mantel and made us love the chocolate brown color we chose.

And after several coats of this yummy chocolate color, it was DONE!  Just in time for S.’s huge Holiday Gala.

Not too shabby for two “experts” fueled with coffee, YouTube, and of course  a little bit of Nate Berkus on in the background.

Now onto the wall color change, given that S. recently called the color an insult to colors everywhere…and so it continues!


3

Mudroom Do-Ovah

It’s January, the time for clean outs and reorganization, and the perfect time to share with you my “not quite enough room for true built in lockers faux locker concept” or, simply put, The Mudroom Do-Ovah!

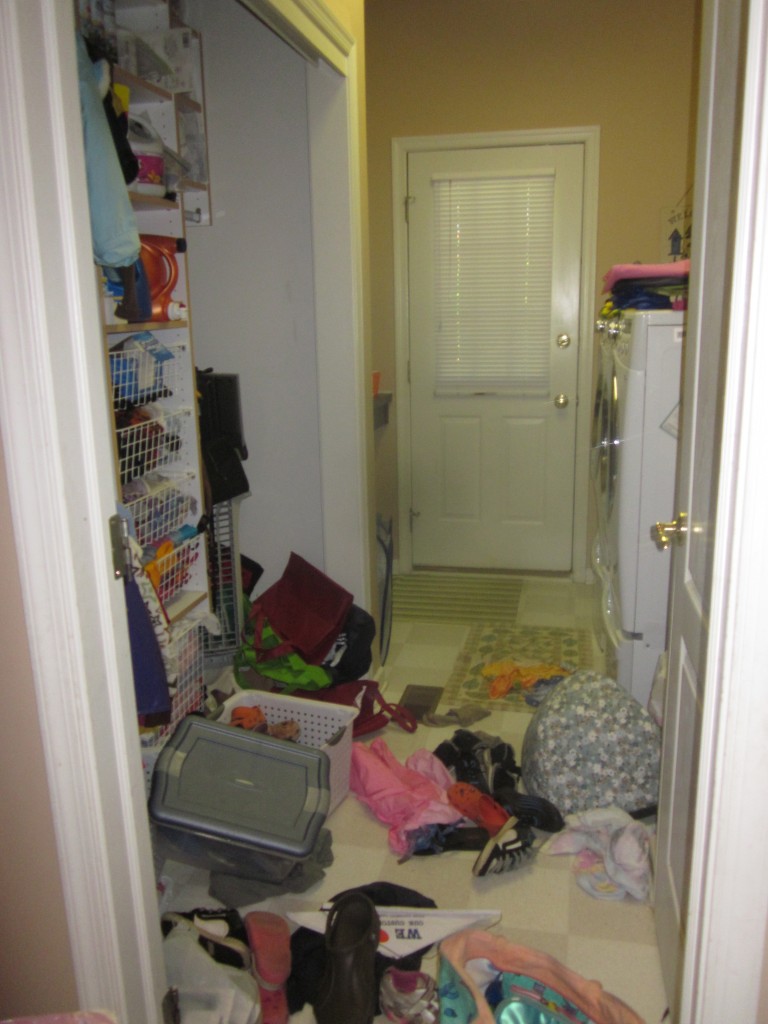
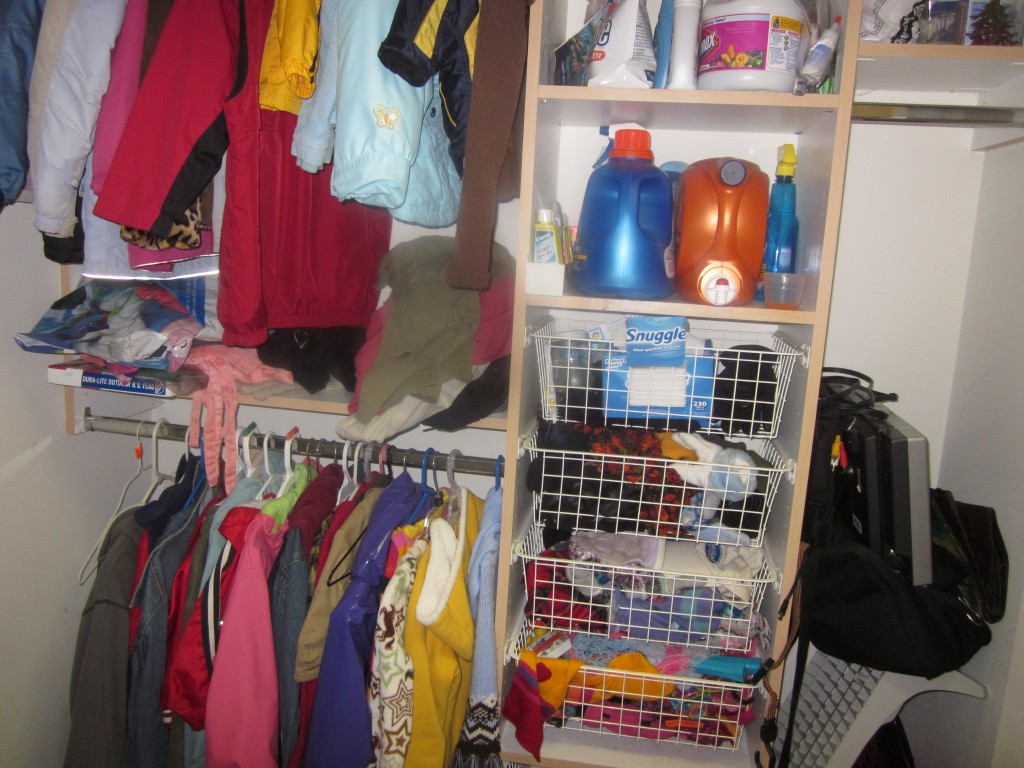
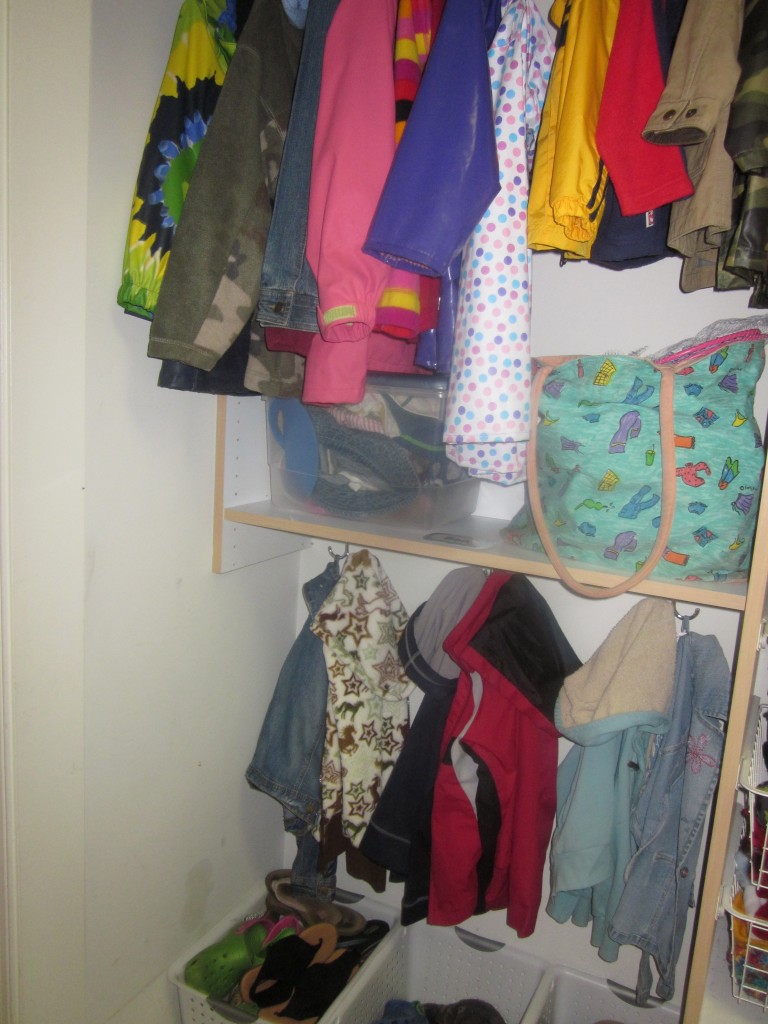
I entered the side door of my clients home to this…

The true clutter of a busy family with lots of kids, but certainly not the first impression you want for your home (unless of course you are a wicked huge fan of Hoarders).  Here’s the thing, they really wanted to be organized but didn’t know exactly where to begin!  Her futile efforts were not working for her family.  She had some bins for shoes and had already taken the double door off the closet…it was a start…but it was not working because there was not a system in place and they were trying to cram way too much into a relatively small space.  She also wanted built in lockers but was unwilling to give up the rest of the closet storage…the Do-Ovah Dilemma!

We grabbed some trash bags and went to work!

Kids + Hangers = Total Mess

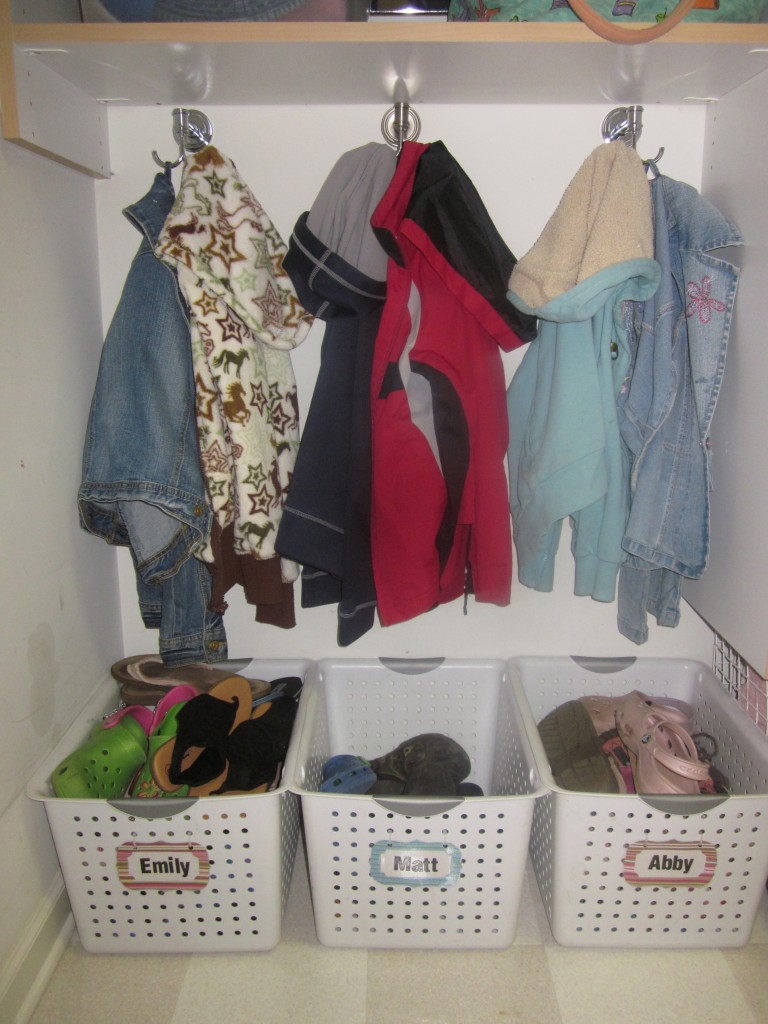
It’s simple word math really!  All of those coats crammed into that small space…come on…the kids are running in the door from school grabbing a snack and going to play.  They will not even look back to see if, by some miracle, their coats didn’t fall off the hanger and onto the floor.  I know you know what I’m talking about!  So, the solution is a system that works for  everyone.  First, we cleared out all the coats and only kept the ones used for that season.  Then we took out the bar from the lower level of the closet.  I found some hooks that reminded me of the inside of a locker.  I wanted something that could easily hold two coats without them sliding off onto the floor.

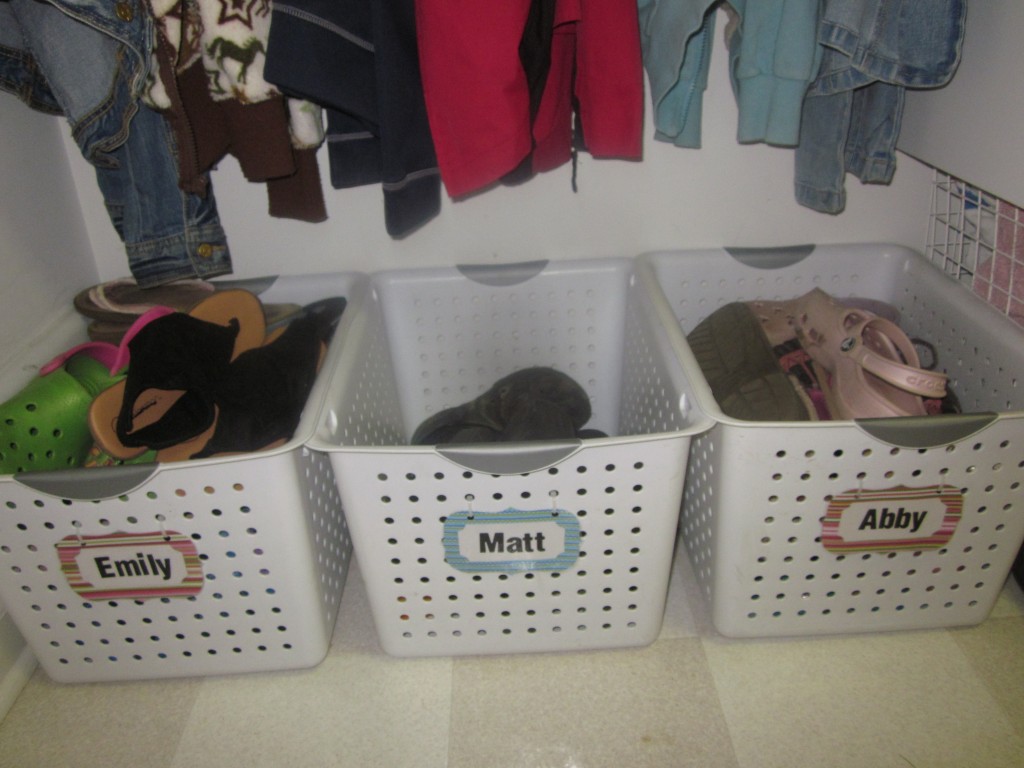
After the coat situation was taken care of, it was onto the shoes!  (Um, isn’t it funny how the sisters already have way more shoes than their brother?!?)

We reused the baskets she already had but this time assigned a system.  We placed it under their hooks and labeled each bin. (So simply done with scrapbook paper & letter stickers.  I attached them with zip ties after I laminated them so they would hold up to the wear and tear I knew they’d be getting)

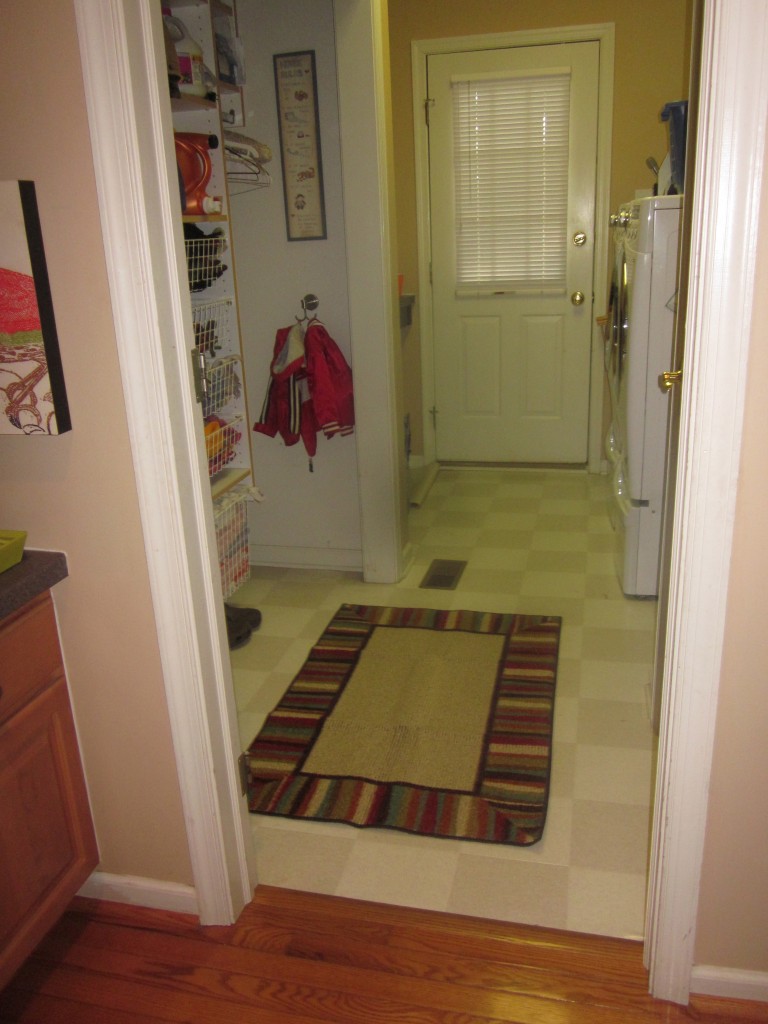
And just like that we were were organized, with a place for everything & everything in its place!

The Mudroom Do-Ovah is done, complete with a “locker system”.  Coming home to this would certainly keep a smile on my face!


3