Did you get a sneak peek at my Holiday Home Tour last week? Well here is a close up of a few vignettes in my favorite room this year, our family room!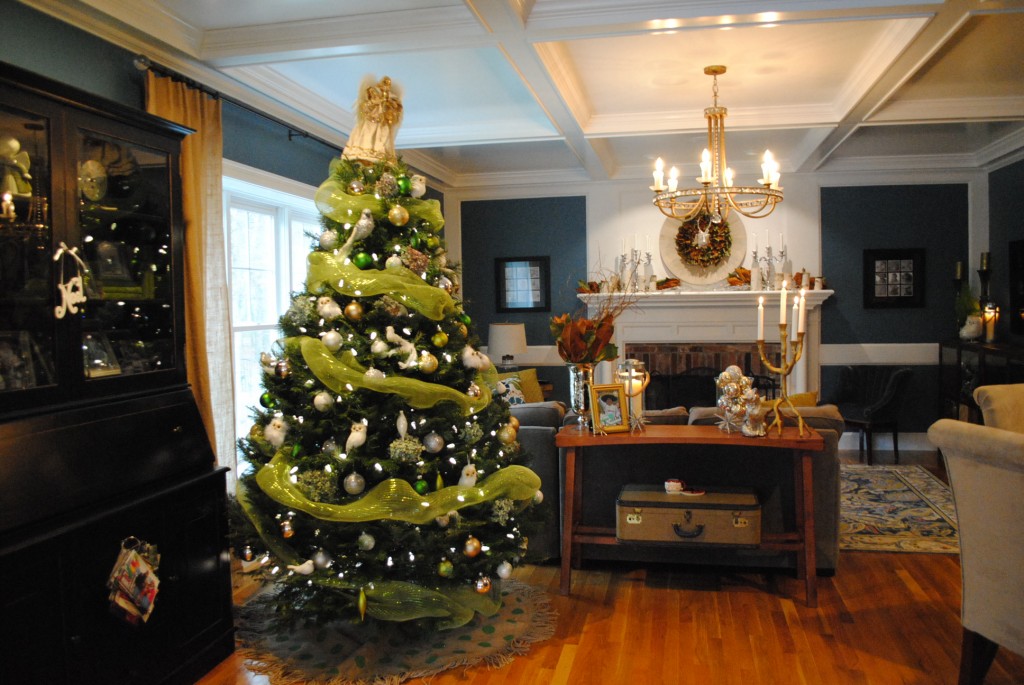 I found the PERFECT tree skirt on etsy several years ago (PSA: The shop is gone now…sorry! Shop small people and keep these super talented mommies
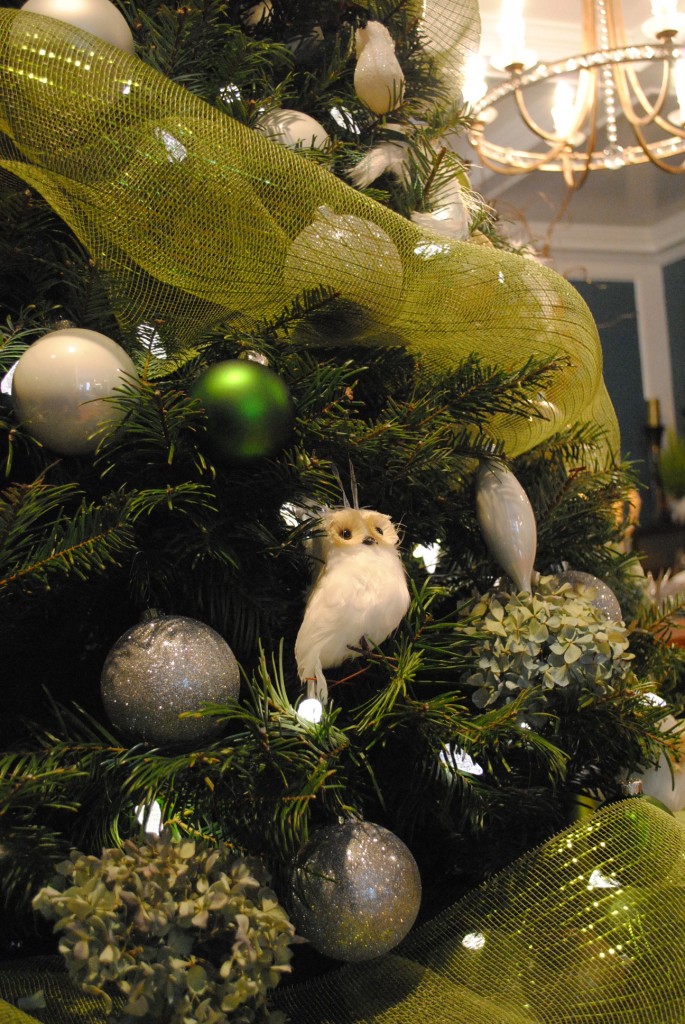
 MK Coastal in business) Green polka dot painted on fringed burlap?!? Yes, please! We don’t always have a tree in this room, so I was super happy to finally be able to use it after looking at in our bin of decorations for over 3 years (and even happier that I bought it when I saw it the first time).
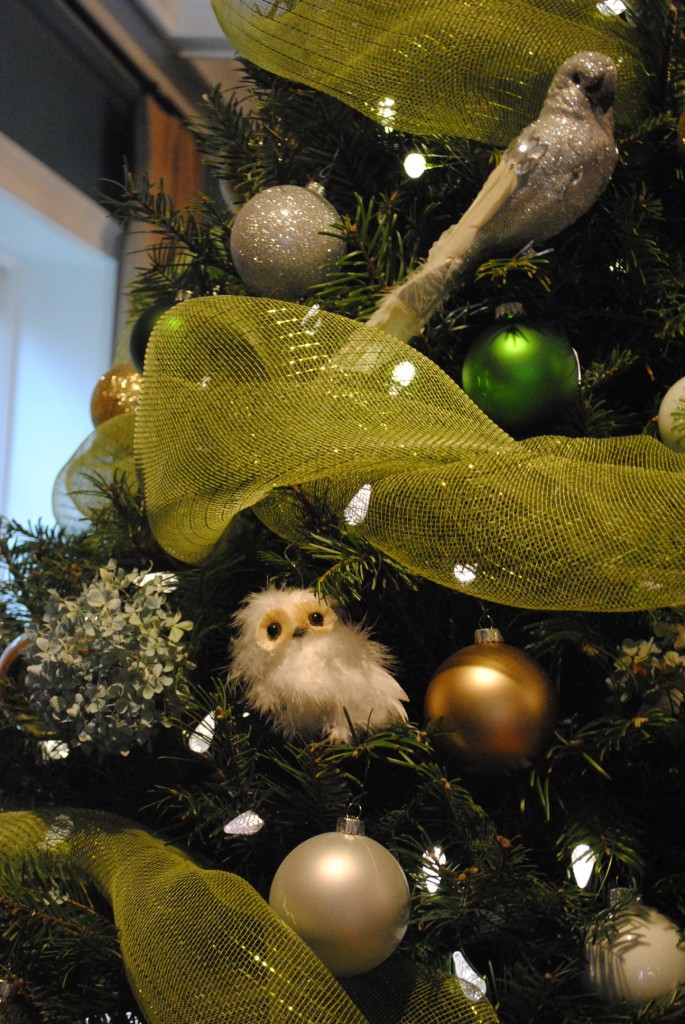
I fell in love with these owls while shopping at West Elm this fall. I was planning on heading back to pick up a few for my tree ($6 adds up) but I found these for $2 at our local Kmart, so I could buy loads more than I had planned. Of course, I had my six year old with me and he convinced me that we also needed to buy the parrot, because really…what’s a Christmas tree without a parrot? (FULL DISCOLSURE – Our local Kmart in Acton, MA is GROSS! Ya hear that Kmart corporate? G.R.O.S.S. I can’t tell you how many times I’ve heard other local mom’s talk about boycotting that place…but sometimes you have to run in there when you are going to a birthday party at the bowling alley across the street. So, yeah, I bought some decorations there this year…cauz they were cute fuzzy owls (and a parrot) but man do we need to do something about that dump. I’m officially putting TARGET vibes out into the blogosphere…but I digress. Now back to your regularly scheduled blog post).
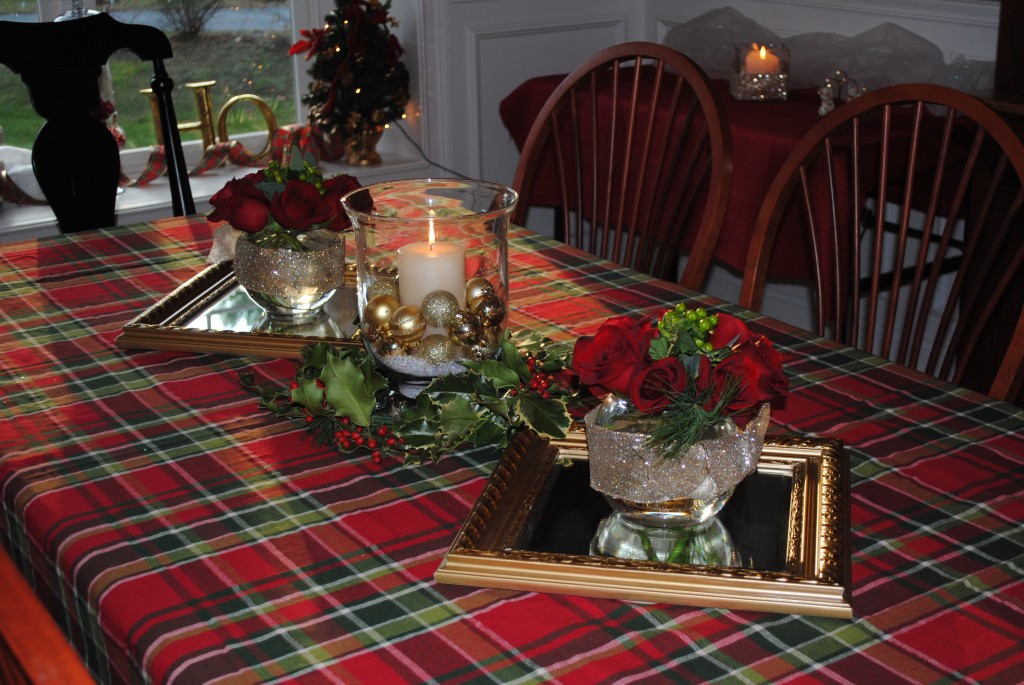
So, we had such an abundance of hydrangeas in our yard again this year that I couldn’t throw them away. I decided to incorporate them into our holiday decor, not only on our tree but in this centerpiece as well!
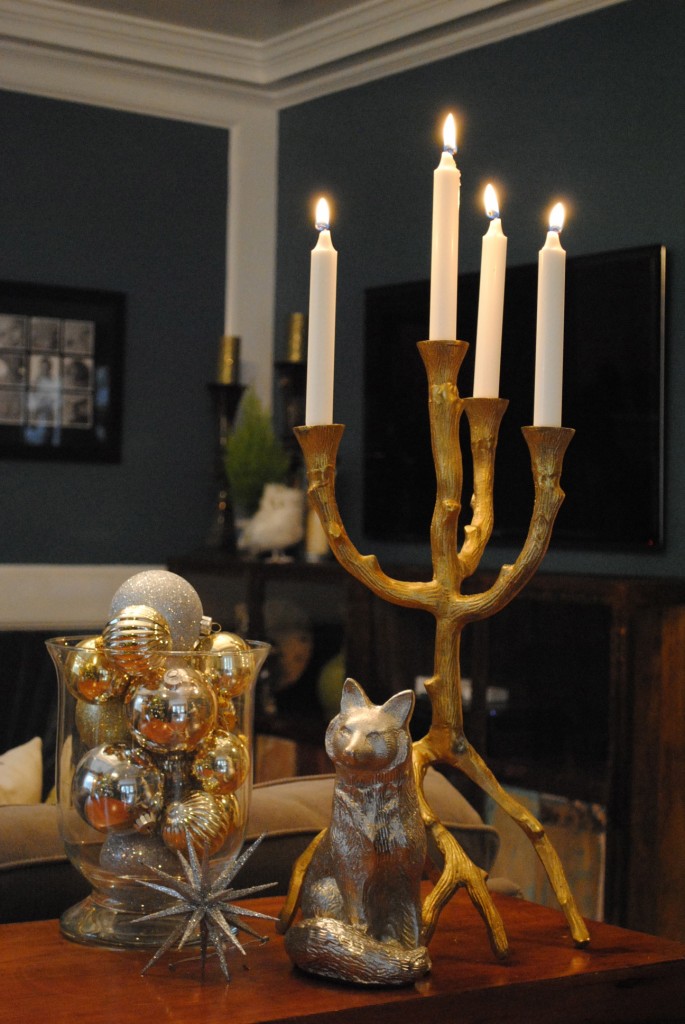
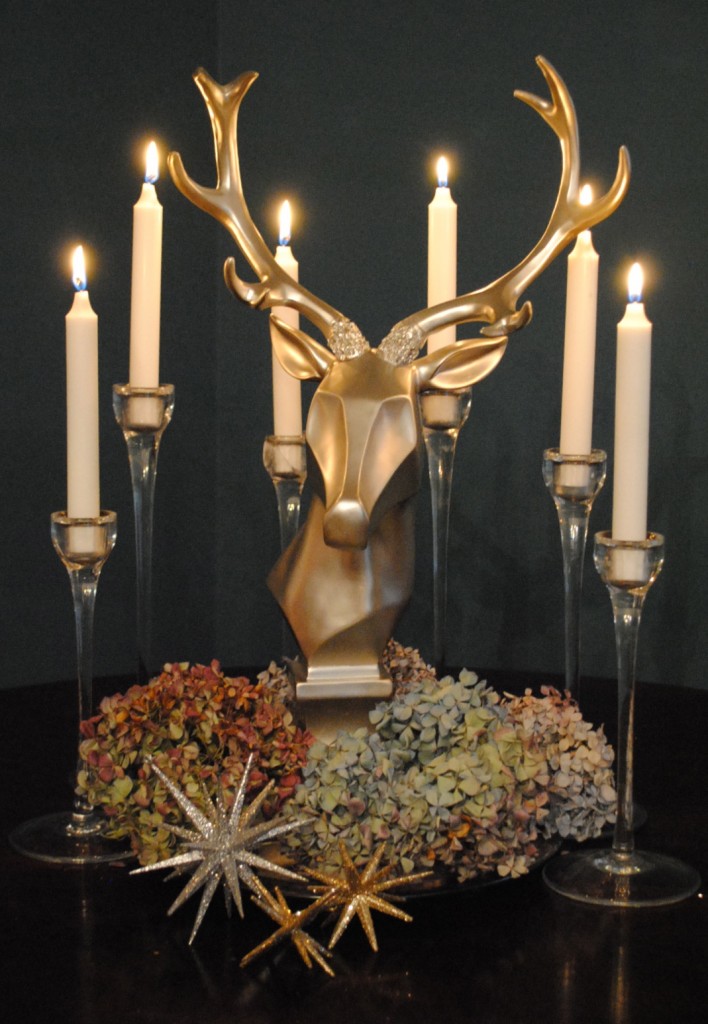 I love my Ikea candlesticks so much I literally use them in different ways every season! If you go, pick up a set for yourself (and one for me too) for $14.99, I promise you won’t regret it. Oh, and while you there, pick me up a box of candles too…I’m almost out.
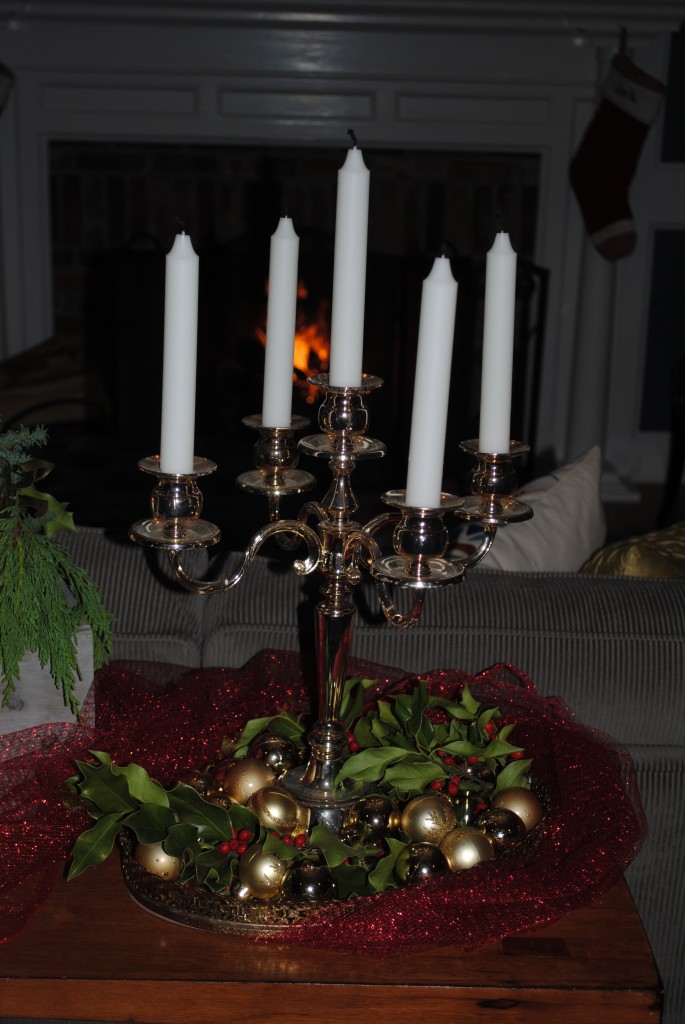
Speaking of candles, do you love the gold candelabra I found at Home Goods a few weeks ago?
I walked by it a few days before and had major buyers remorse, so I was ecstatic when was back and realized it hadn’t sold yet. The “meant to be mine” candelabra. And you might have seen that fox on my instagram post a few weeks ago after said West Elm shopping trip. Clearly I bring my boys shopping with me often, because I couldn’t say no to their rendition of “What Does a Fox Say” as they begged me for it at the check out counter. I think he looks kind of cute in his new home…and, for the record, he says nothing.
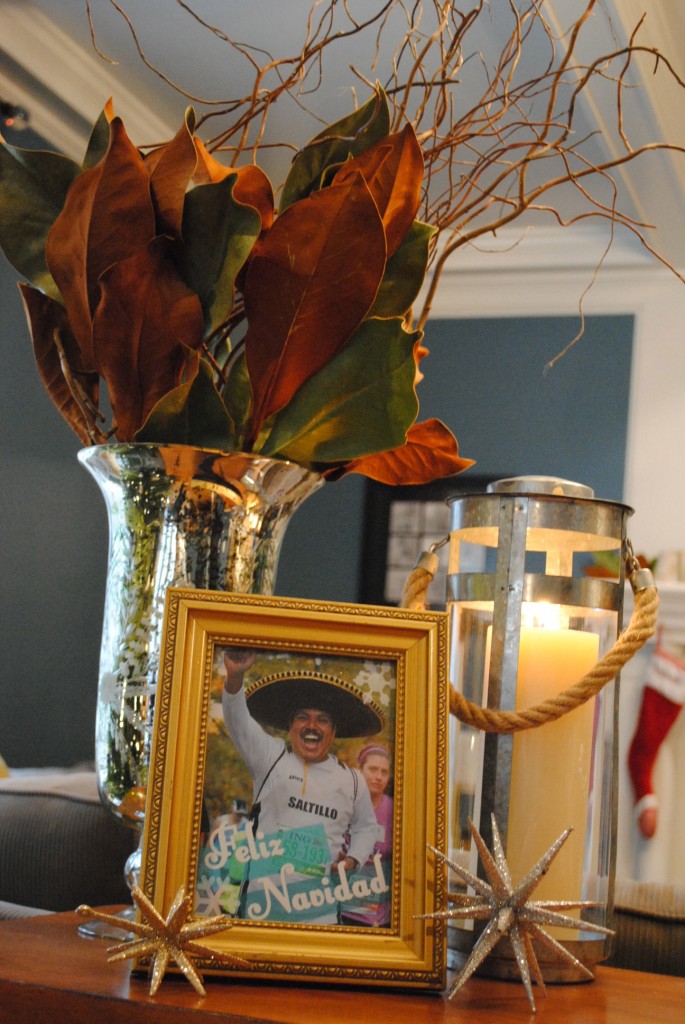 On the other side of the table is an etched mercury glass vase (it’s green inside…can you see it? I love it so much!) with magnolia leaves and decorative branches to tie in the magnolia theme on the mantle. I also framed what is the BEST CHRISTMAS CARD EVA from my bff Kelly, who is also, quite possibly, the most thoughtful and creative person I know. Can you see her in the corner running the NYC marathon last year? Hands down, best card eva…and I think the mexican guy would totally agree!
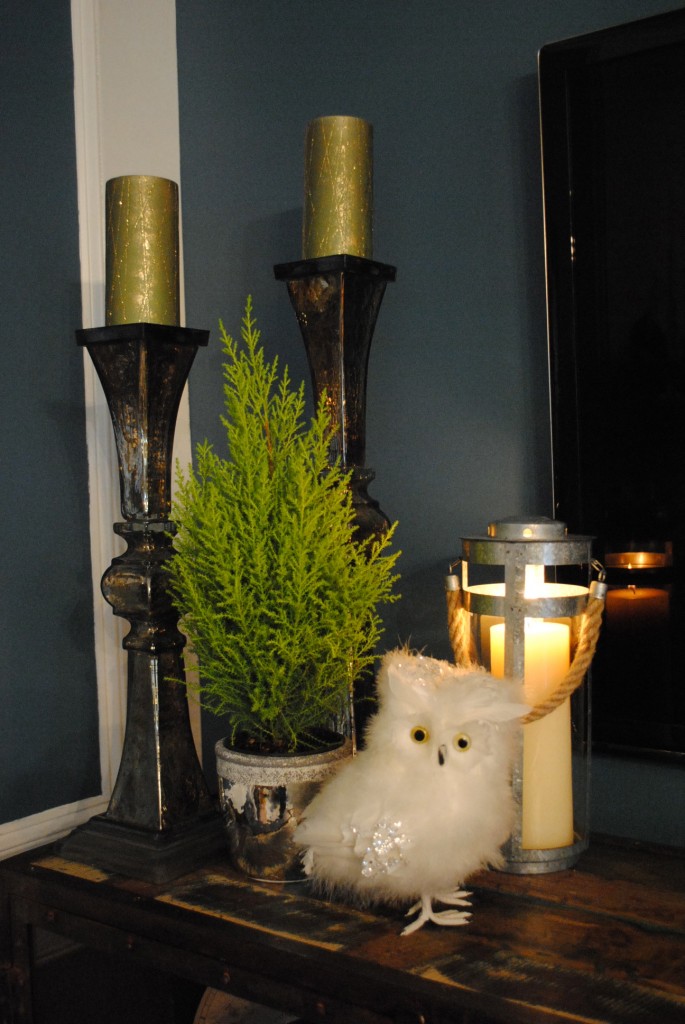 Another little space I love is on the corner of the media cabinet. I picked up the big fuzzy owl at Home Goods when shopping for Halloween decor…see the inspiration for the theme? I also fell hard for the color of the lemon cypress in the mercury glass vase from Pottery Barn.
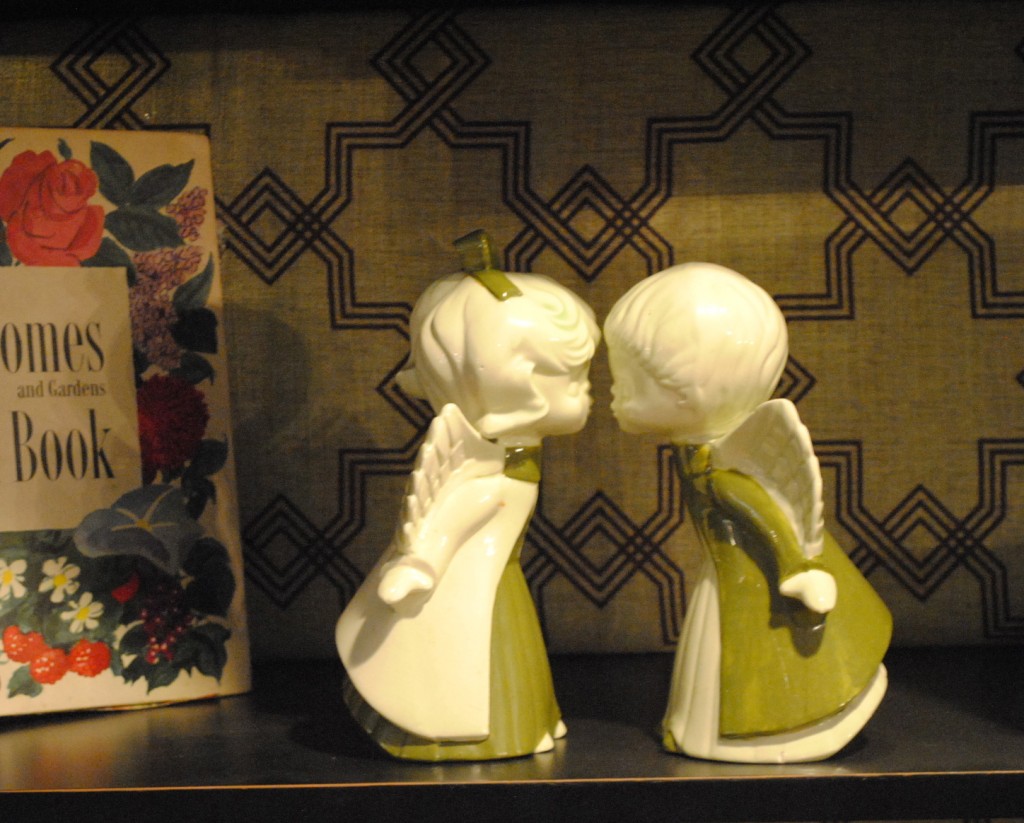 One last little vintage Christmas decoration is from my mom’s ceramics class circa 1985! I love this even more today than I did back in 5th grade when all I wanted to do was go WITH my mom to ceramics class at night (not that she was a looking for a girls night out away for her 4 kids or anything). I hope you have decorations with lots of meaning and memories adorning your homes. If not, start making those memories now, and maybe your kids will want to decorate with your vintage decor someday too. Happy Holidays!


