Archive | Fall Projects

A Tangled Web

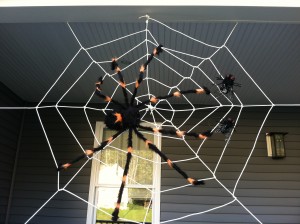
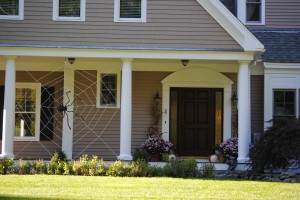
My neighbors and friends keep stopping by to ask about our new pet…Charlotte.  To be honest, I sort of winged the construction of this web when I stared it on my porch last weekend.  The whole time I was thinking, I should be taking pictures because I might want to blog about this…but I wasn’t even sure how it would turn out.  Well, needless to say, we all LOVE her!

And needless to say, I didn’t take any “how to” pics.  Which really worked out for my friend, since her daughter begged her to make one at their house too.  Back to the hardware store…and this time it was documented…step by step!

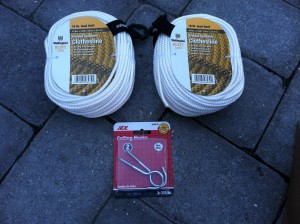
So here’s what you need.  For my web I ended up using 200ft of clothes line, but here I only used 100ft.  I also needed some ceiling hooks for this porch, but you may already have one for your hanging baskets.

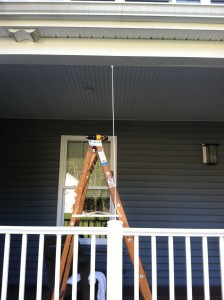
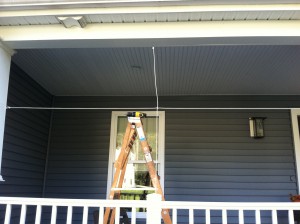
STEP 1: String one length of rope vertically, tying knots at both ends.

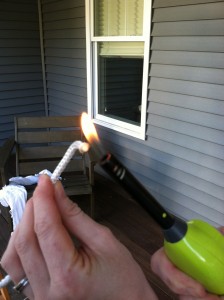
Before you tie the knots, you’ll need to burn the rope 

once it’s cut to prevent fraying!

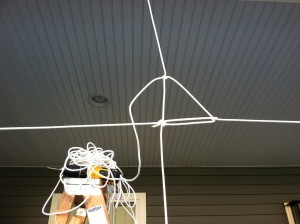
STEP 2: Tie another length of rope horizontally tying a knot at the center point.

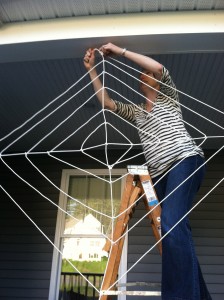
STEP 3: With the remaining rope, tie another knot in the center and begin to tie tight knots as you circle around the horizontal and vertical ropes.

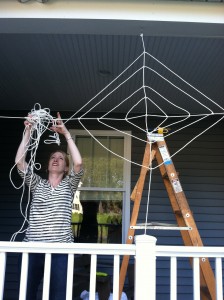
STEP4: Keep going and going and going!

Don’t worry if it’s not prefect…spiders don’t seem to mind.

WHAT A TANGLED WEB WE WEAVE

You might want to be a little more organized with the rope, just sayin’

STEP 5: Make it as BIG as you can covering as much of the horizontal and vertical rope as possible.

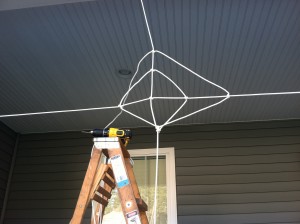
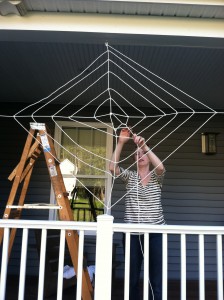
STEP 6: Now onto the vertical ropes.  Starting from the center loop the rope around the connections you have already made and pull tightly.  Repeat on all sides!

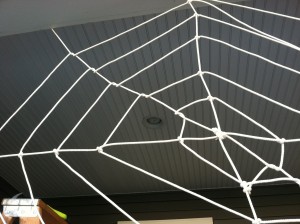
Check out the difference between the knots on the horizontal and vertical connections vs. the looping on the diagonal connection.  It helps give you a little wiggle room to straighten things out when you are done!

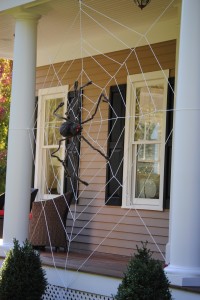
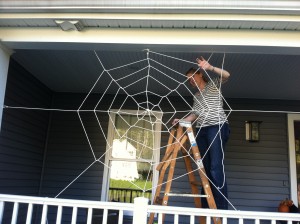
And here is the finished product!  This spider is named SofandSam and if you look closely you’ll see he even has a little lunch on his web!

Now start your weaving…and remember

“You are never more than three feet away from a spider”

3

Beyond the Expected

For the most part I am a pretty traditional gal.  I’m all about the pops of orange when it comes to fall decorating.

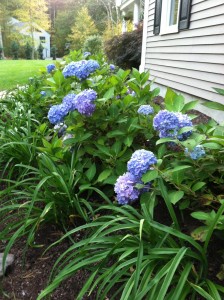
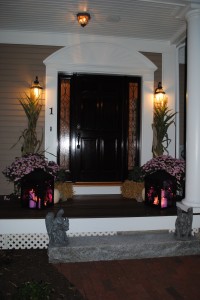
However, when the walkway leading to my front porch looks like this… I simply can’t just ignore it!

Planted in the spring, the never-ending blooms would certainly make Martha proud.  I decided to use this inspiration as the starting point for my front porch display.

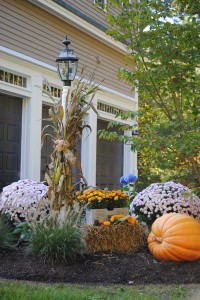
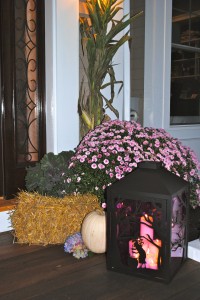
You see, I stuck with the traditional hay bail and corn stalk, but used some hydrangeas as my inspiration splash of color.  From there I added huge fuchsia mums (Costcos for $11.99…no joke) kale with a purple hue & a white pumpkin.  And to top it all off, these amazing Halloween lanterns with the purple glow!  (What would I do without Home Goods)

What house doesn’t need gargoyles?!?

So there you have it…my non-orange Halloween front porch!  I hope it has inspired you to think beyond the expected in your fall decorating.  Oh and my little friend Charlotte there, check back soon and I’ll show to create one of your very own!

3

Takin’ the Do-Ovah on the Road

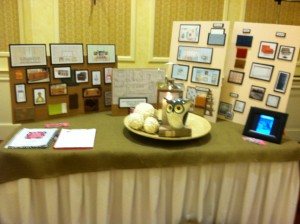
A few weeks ago, I attended a vendor fair to raise money for The Tyler Foundation.  Although, some people might think the “Do-Ovah” does not really fit into the typical craft fair mold (yes I was sitting next to people selling jewelry, candles, and knit hats) since it was for charity I thought I’d give it a try.

This being my first fair, I had to decide what my tablescape should look like.  I knew I’d be putting up some of my design boards, but what else would work?  I also knew I’d have a white table cloth, and knowing me, that wasn’t going to be enough.  I headed to Joanne’s to check out what fall inspiration I could find.  I found this beautiful burlap in the utility fabrics for just $3.99 a yard.  For under $10, my table was beginning to look stunning!  Burlap is just like my gingham  for the fall.

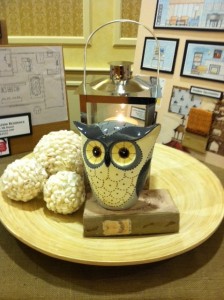
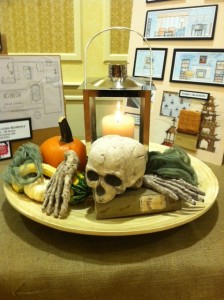
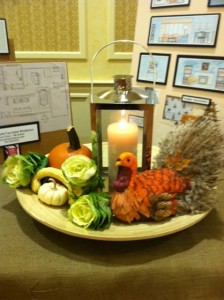
Since I wasn’t selling a product, but rather, a service I decided to come up with a little presentation to show potential clients a little bit of the Do-Ovah in action.  Lots of people have been asking me about what to do to create affordable centerpieces.  This was the perfect opportunity to show them (and, of course YOU since I knew I’d be writing my first post about it) I scoured the clearance rack of TJ Maxx for the perfect pieces.  I started with a large platter and a lantern that would be used consistently in each display.


I decided to make a display that could be used all year, by simply updating a few pieces each month.  For September I used some decorative balls covered in seashells…cauz let’s face it, no one is ready to say good by to summer just yet.  I also used a book and owl to represent back to school.


For the beginning of October I switched out the seashells with a pumpkin and some gourds.  Then, as we get into the spookier time of the month, I took away the owl and added a skull & bones with a bit of green cheesecloth fabric.  You are all set for a freaky Halloween!

Finally, pull the scary stuff and throw in a turkey and some kale and, you guessed it, Happy Thanksgiving!

This was such a great event and it was so fun for me to bring a little bit of the “Do-Ovah” on the road.  The best part of it all was when people started calling me the “local Nate Berkus” cause, come on, he IS one of the design greats.  What a compliment!  Hope to see what you decided to add to a centerpiece of your own.


2