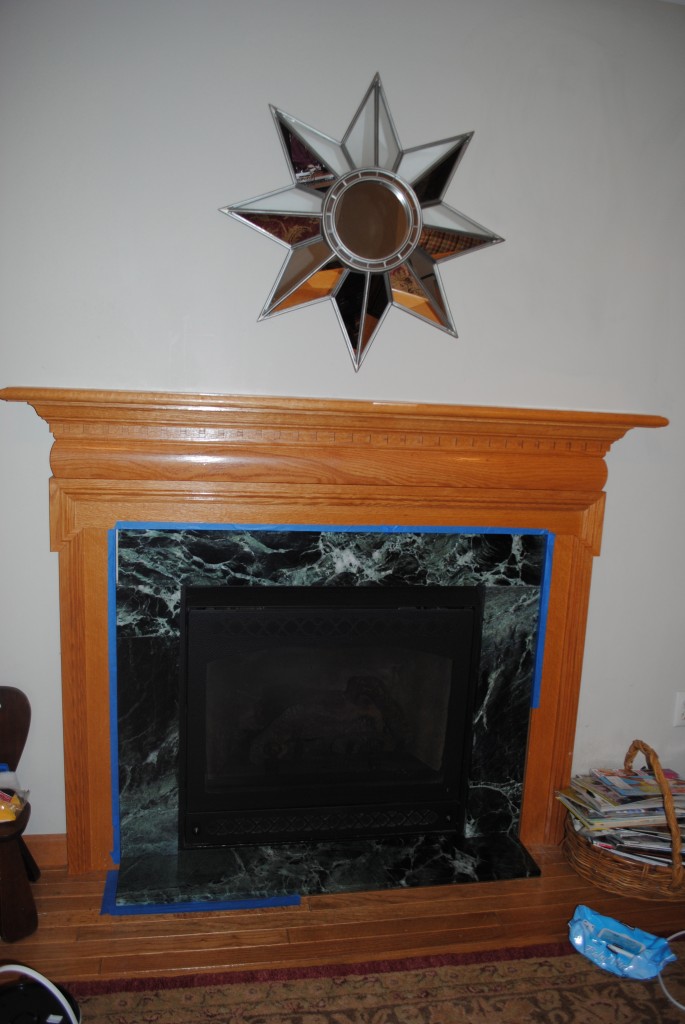
Not too long ago I posted THIS on my facebook page. I love this blog! They are always so inspirational and have such amazing DIY ideas. They ended that post with a quote that I loved: “Every accomplishment starts with the decision to try” so needless to say I was thrilled when I got the call to Do-Ovah a fireplace, I wanted to try! Full disclosure – I have absolutely no experience with this, but my girl S. was on board, we were gonna do this together and, although we are not masons, we were pretty confident we could figure this out. With a little research and several YouTube videos, we were ready to take on this monster…
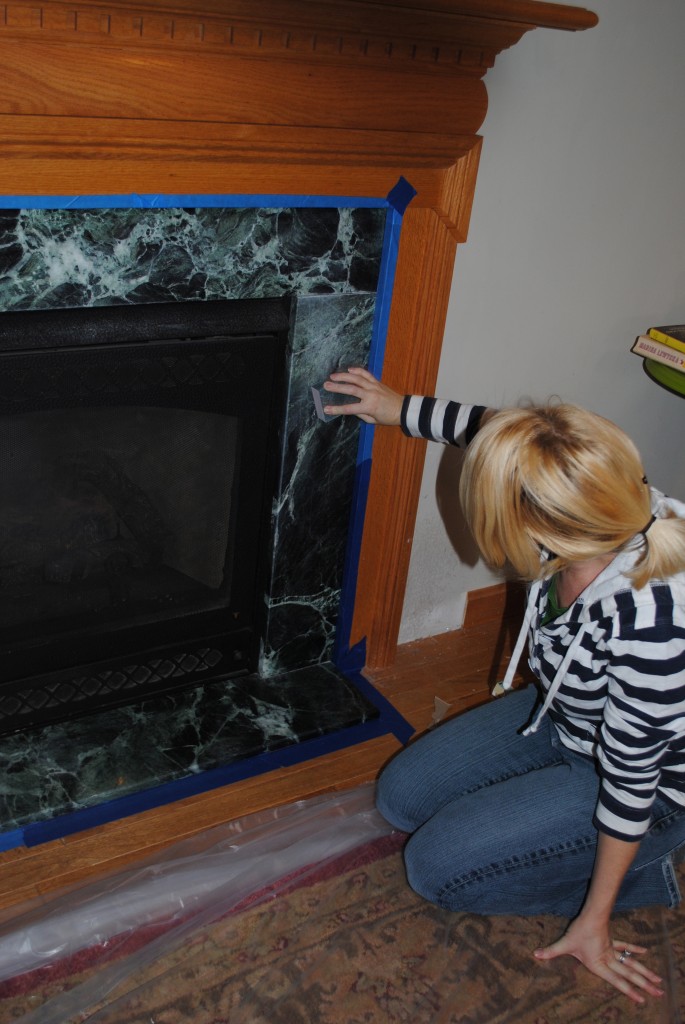
First, we talked to about a zillion people about the process of tiling over marble and YES we got a zillion different responses, at least a million of which could not believe we were actually tiling over marble…but I digress. First we roughed up the marble surface with sand paper.
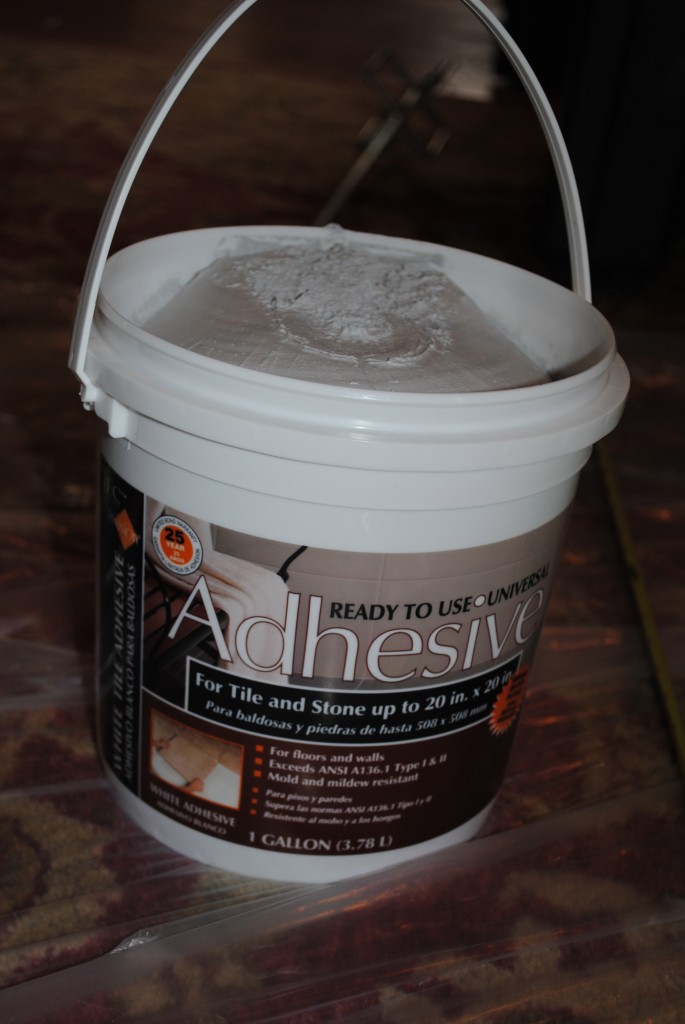
Once that was roughed up and wiped down, we used this adhesive to stick those little suckers on.
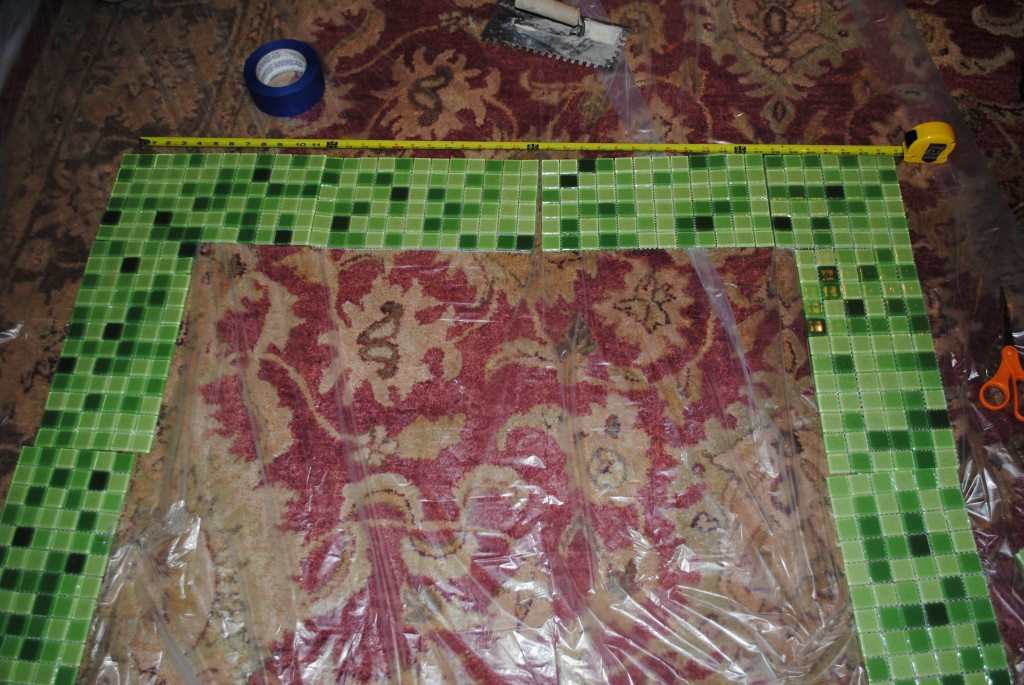
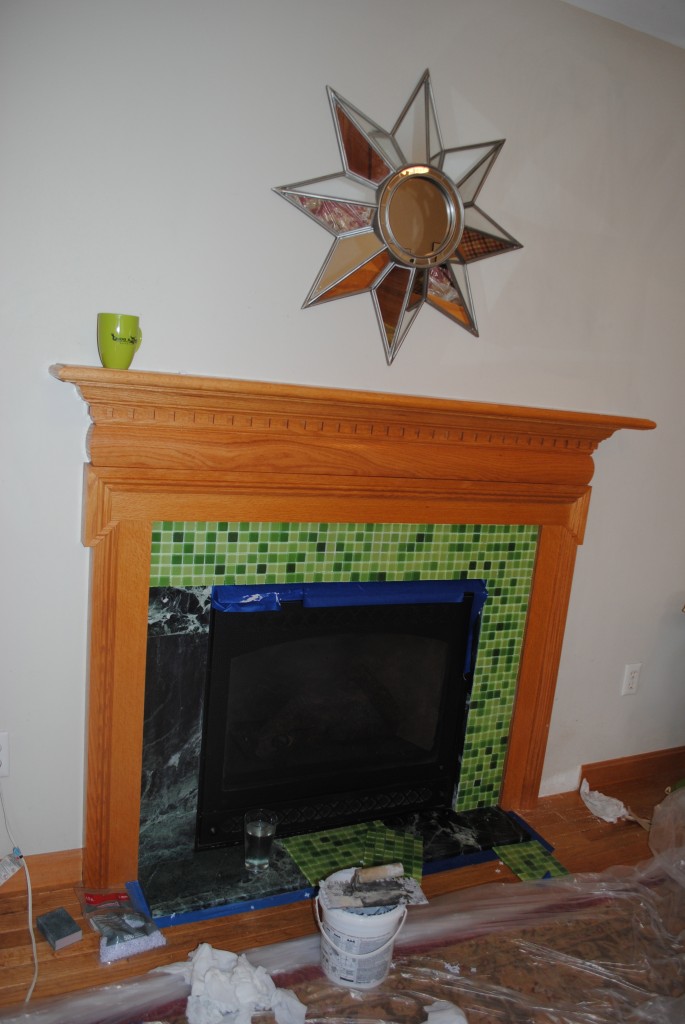
Two little hints we’ll give ya. First, did you notice the painters tape around the tiled area? Yeah, don’t do that! It was a complete horror show when we tried to pull the tape off when the adhesive started to dry. Second, measure and lay out the tile before you start…it will save you lots of headaches when you have the adhesive smeared and ready to go.
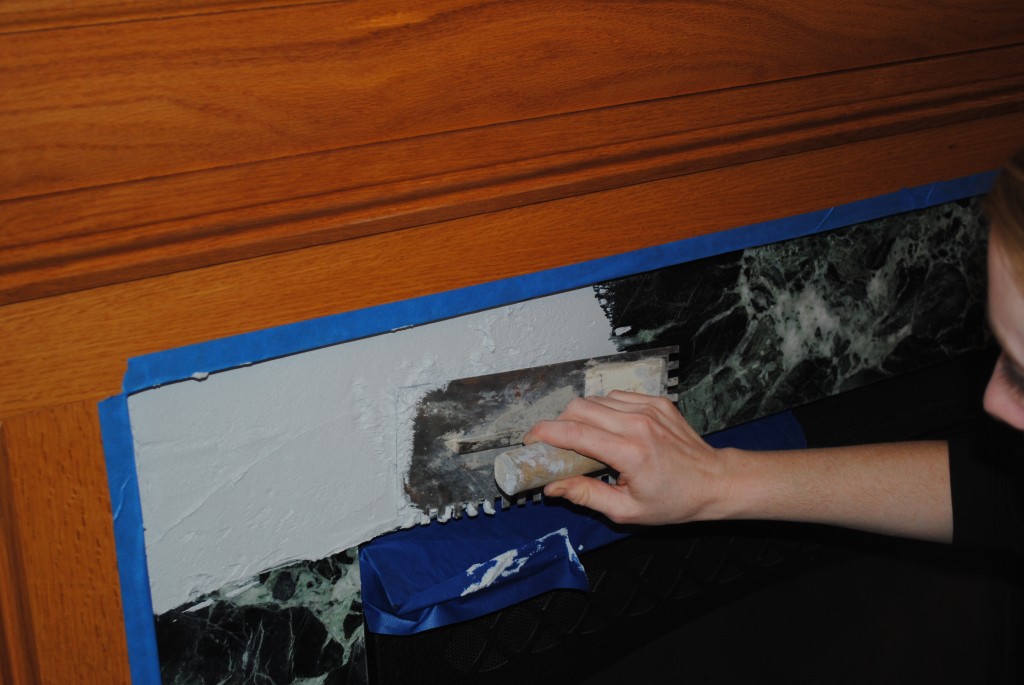
OK, now onto the smearing (yup..totally a technical term. Herein all professional jargon) So we scooped a big goop of gunk on the trowel and smeared it onto the marble and made it wicked flat but not too thick. Then, my favorite part, you pull the teeth side across the gunk and make cool groves.
We plopped our tiles into the goop and held it there for a few seconds…then it was onto the next section!
We even had time to stop for a coffee break (as long as the mug was color coordinated of course), but what a difference already! After all the tile was stuck into place and the adhesive had time to dry, we grouted with an Oatmealish color (after YouTubeing the grouting process of course). In short, think “wax on, wax off”.
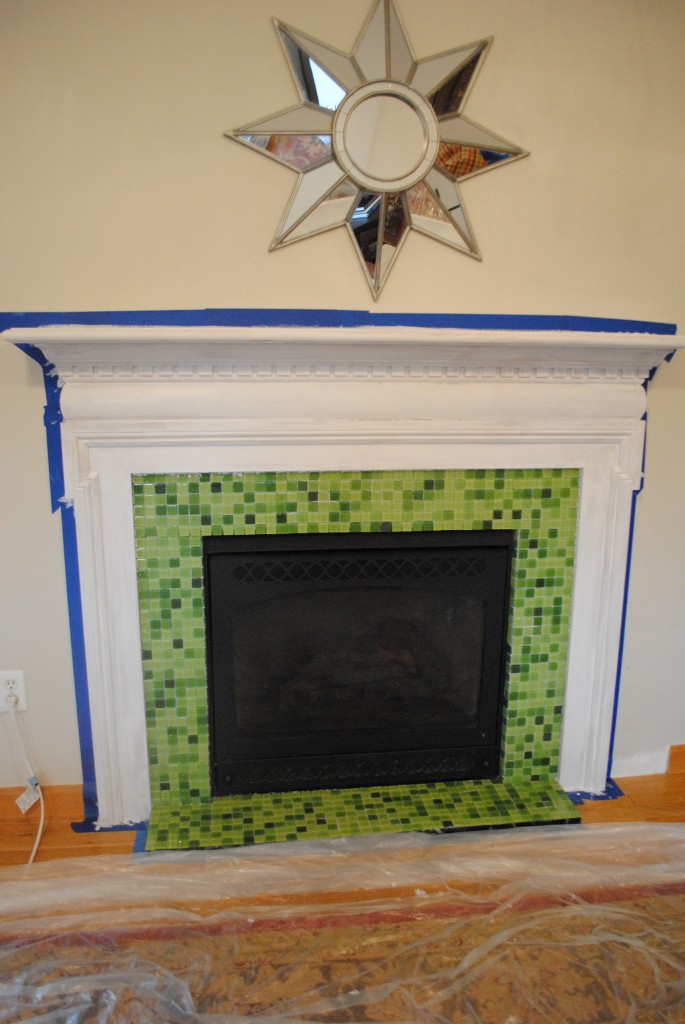
Now that the tile was done, it was time to work our magic on the rest of the mantel! We kept that part pretty simple. We started with some primer that would adhere well to the glossy surface.
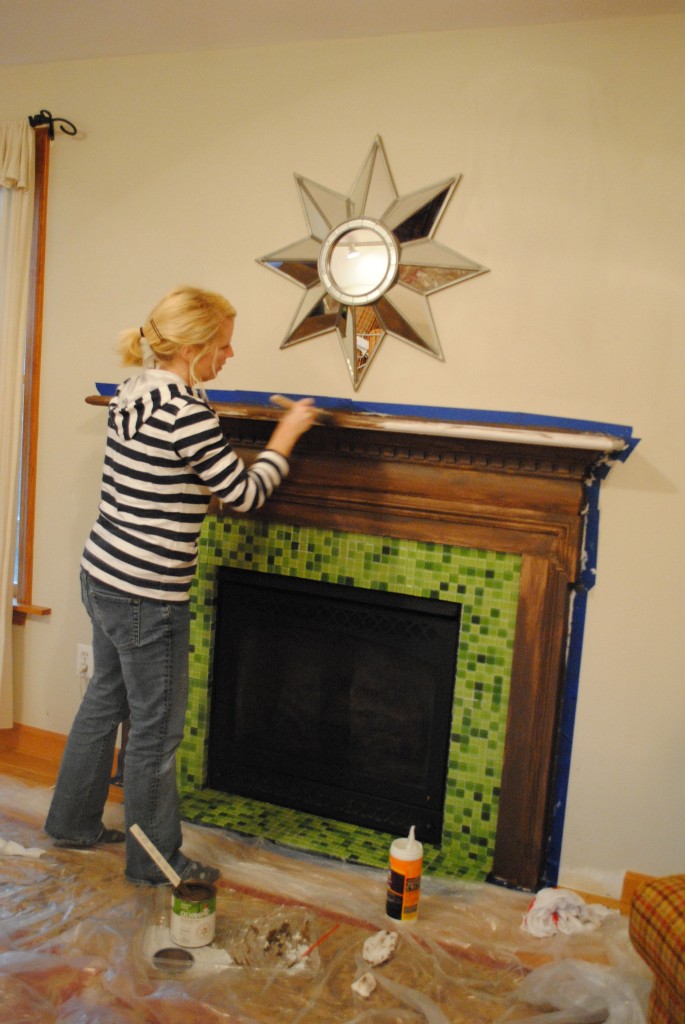
This certainly confirmed the fact that we did not want a white mantel and made us love the chocolate brown color we chose.
And after several coats of this yummy chocolate color, it was DONE! Just in time for S.’s huge Holiday Gala.
Not too shabby for two “experts” fueled with coffee, YouTube, and of course a little bit of Nate Berkus on in the background.
Now onto the wall color change, given that S. recently called the color an insult to colors everywhere…and so it continues!


