Archive | Front Porch

Five Festive Fideas

I’m a sucker for countdowns anytime of year, but especially THIS time of year!  Now this isn’t the Best of MK Design 2011 (um…blog idea….yes please!) but, here are the TOP FIVE decorations that I love in my own home this year.

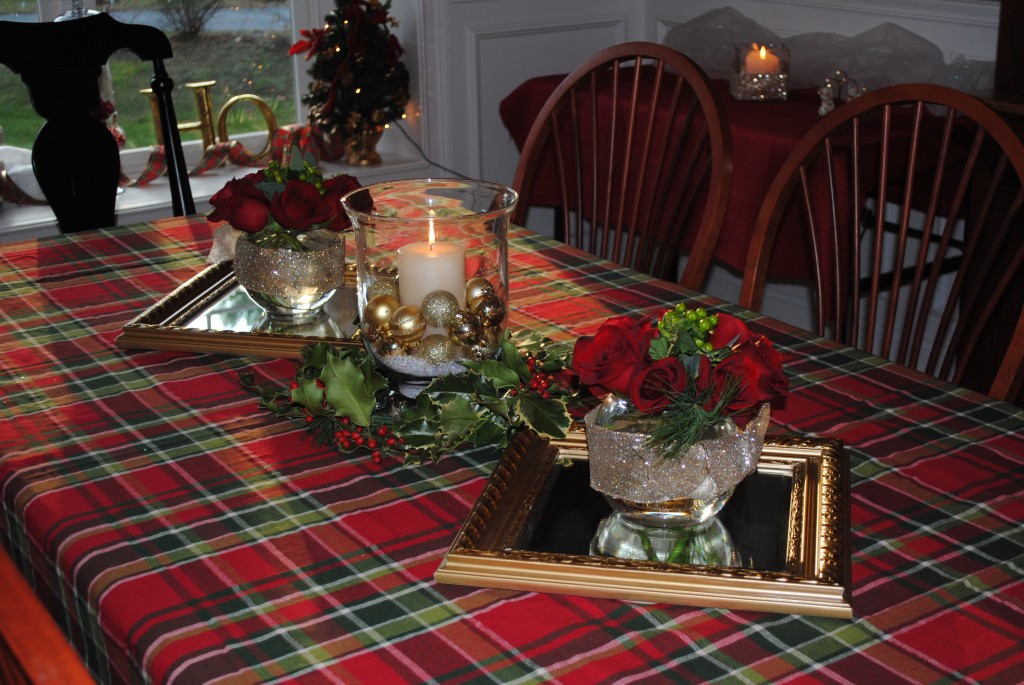
5. Mirror, Mirror, on the Table

For my dining room tablescape, I love the look of mirrors under flowers or candles.  I purchased these for about $5 a few years back and have certainly gotten a ton of use out of them.  I may change the colors and the scene, but I always love the dimension it adds!

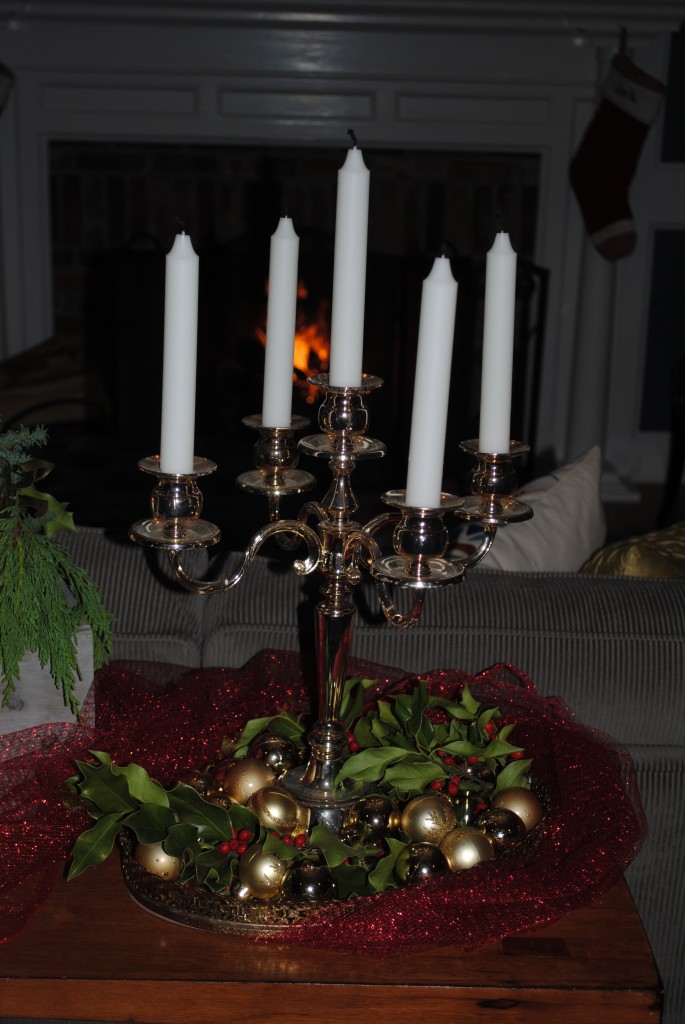
4. What’s Old is New Again

While shopping a thrift store after being completely inspired from Mr. Goodwill Hunting (Thanks Nate Berkus) I came across this beautiful oval vanity mirror dressing table tray.  My mom has one of these, and of course, rush in childhood memories of a little girl sampling all her scents and searching through trinket boxes of treasure….I digress!  Let’s just say for $2.95 I had to have it.  And just when you think you can’t dress up a candelabra, throw it on this vintage tray with some glass ornaments, some fresh sprigs of holly, and it’s even fancier! (Full Disclosure: I have 2 young boys. They are 4 & 7 and, as amazing as they are, they are two young boys.  I know I probably should have lit the candles for the photo…but I’m real…and in real life that would NEVER happen. Open flame behind a couch spells disaster in the making, just sayin’.  Back to the countdown! )

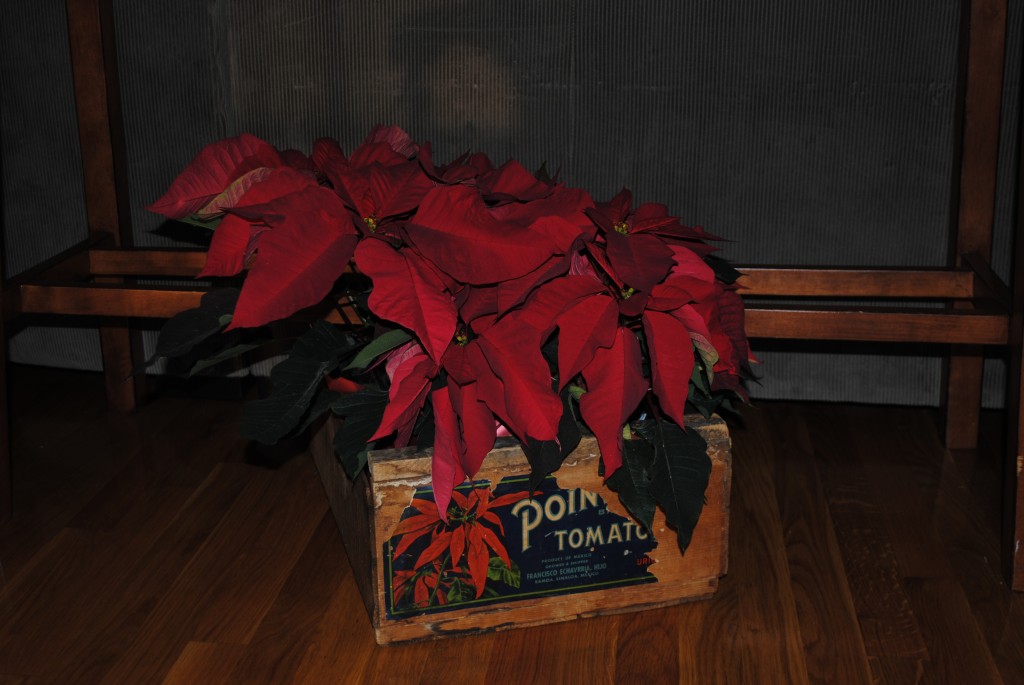
3. Brimfield Find

Vintage boxes were all over Brimfield last fall, and when I saw this one, I knew EXACTLY were I was putting it.  The only problem was, September was SO FAR away from December (OK, it’s really not, but try buying a fabulous new pair of shoes and not wearing them for two months…ya with me!?)  Anyhoo, Brimfield was a highlight of my year, so clearly it just HAD to be included!

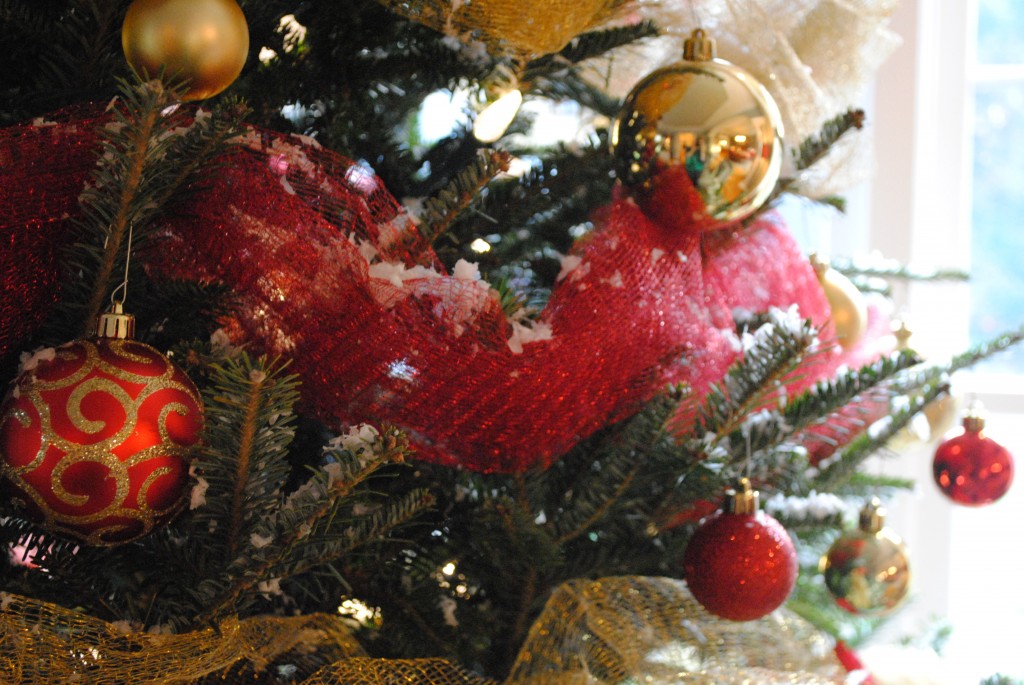
2. Let It Snow

I am all about the indoor blizzard!  Seriously, that fake snow stuff isn’t just for a big mall store trees.  Pick up a bag and I’m guessing you’ll have a hard time putting it down.  It adds such a beautiful layer to your Christmas Tree and, quite frankly, it’s super fun to apply.  I like to call it “Hucking Handfulls”!  Even the biggest Grinch’s heart will grow three sizes while throwing handfuls of snow onto their tree.  Oh, and don’t worry too much about the mess, I like to think that the snow looks prettier than the pine needles that inevitably drop.

Here we are at my number one favorite decoration this year…DRUM ROLL PLEASE…

1. Pretty Little Lanterns

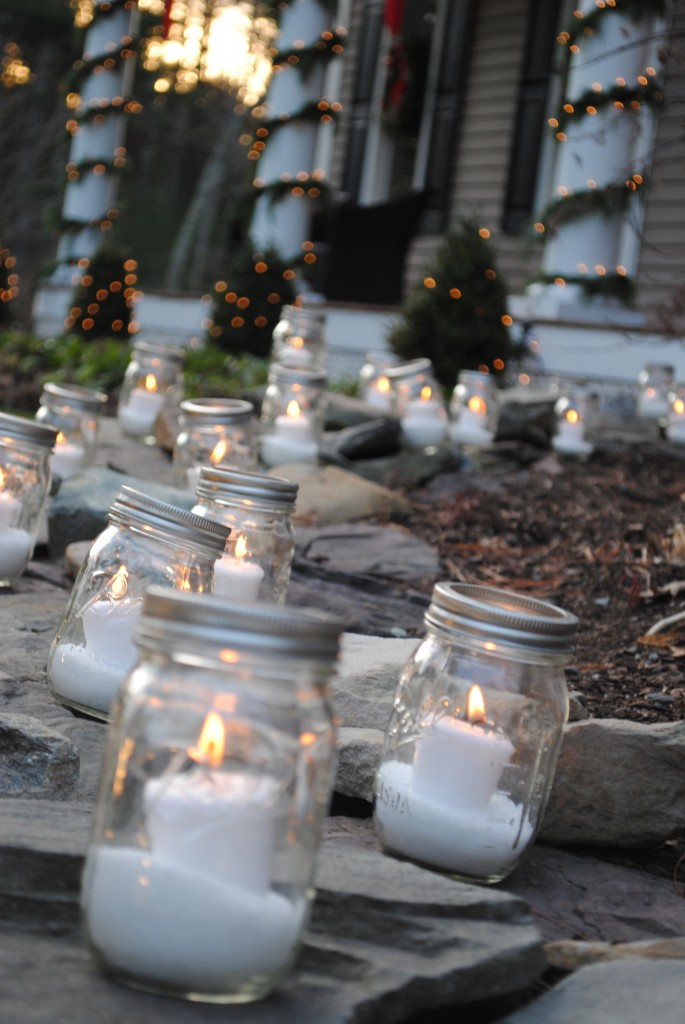
I bought almost 50 mason jars and filled them with epsom salt then added votives and lined the stonewall along walkway to my front door.  They look so purtty as the epsom salt snow glistens with the twinkle of the candles.  Such an easy and inexpensive way to add just a little more sparkle to your holiday!

What are your favorite decorations this year?  Post pictures to my facebook page…I’d love to see what festive things you are up to!


1

A Tangled Web

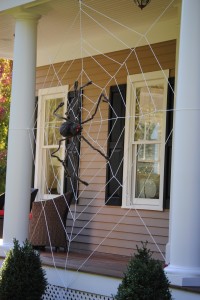
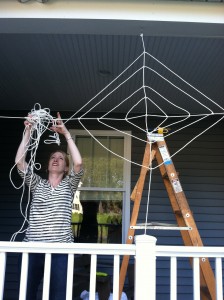
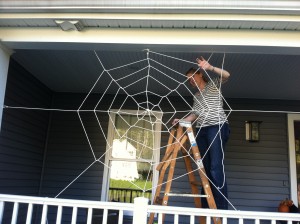
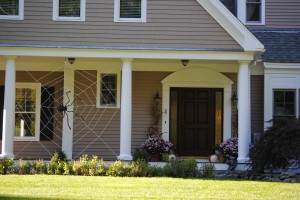
My neighbors and friends keep stopping by to ask about our new pet…Charlotte.  To be honest, I sort of winged the construction of this web when I stared it on my porch last weekend.  The whole time I was thinking, I should be taking pictures because I might want to blog about this…but I wasn’t even sure how it would turn out.  Well, needless to say, we all LOVE her!

And needless to say, I didn’t take any “how to” pics.  Which really worked out for my friend, since her daughter begged her to make one at their house too.  Back to the hardware store…and this time it was documented…step by step!

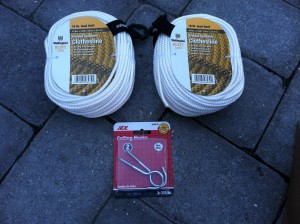
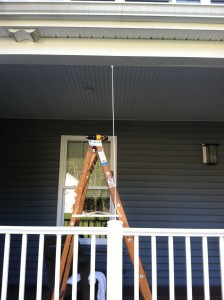
So here’s what you need.  For my web I ended up using 200ft of clothes line, but here I only used 100ft.  I also needed some ceiling hooks for this porch, but you may already have one for your hanging baskets.

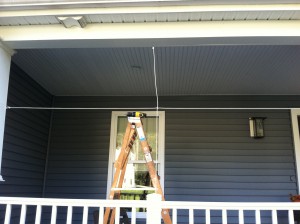
STEP 1: String one length of rope vertically, tying knots at both ends.

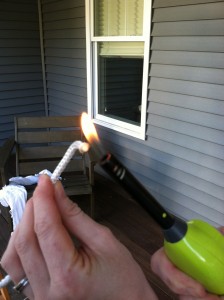
Before you tie the knots, you’ll need to burn the rope 

once it’s cut to prevent fraying!

STEP 2: Tie another length of rope horizontally tying a knot at the center point.

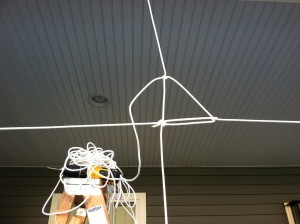
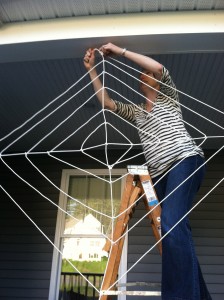
STEP 3: With the remaining rope, tie another knot in the center and begin to tie tight knots as you circle around the horizontal and vertical ropes.

STEP4: Keep going and going and going!

Don’t worry if it’s not prefect…spiders don’t seem to mind.

WHAT A TANGLED WEB WE WEAVE

You might want to be a little more organized with the rope, just sayin’

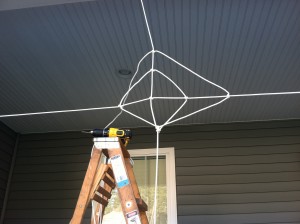
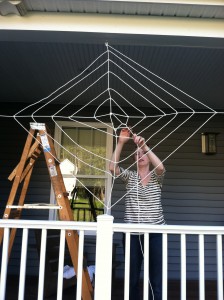
STEP 5: Make it as BIG as you can covering as much of the horizontal and vertical rope as possible.

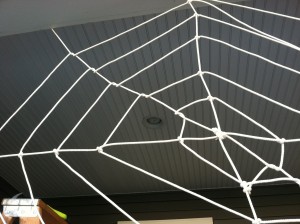
STEP 6: Now onto the vertical ropes.  Starting from the center loop the rope around the connections you have already made and pull tightly.  Repeat on all sides!

Check out the difference between the knots on the horizontal and vertical connections vs. the looping on the diagonal connection.  It helps give you a little wiggle room to straighten things out when you are done!

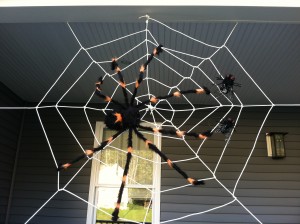
And here is the finished product!  This spider is named SofandSam and if you look closely you’ll see he even has a little lunch on his web!

Now start your weaving…and remember

“You are never more than three feet away from a spider”

3

Beyond the Expected

For the most part I am a pretty traditional gal.  I’m all about the pops of orange when it comes to fall decorating.

However, when the walkway leading to my front porch looks like this… I simply can’t just ignore it!

Planted in the spring, the never-ending blooms would certainly make Martha proud.  I decided to use this inspiration as the starting point for my front porch display.

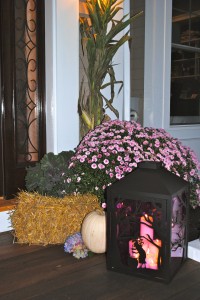
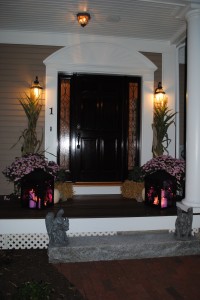
You see, I stuck with the traditional hay bail and corn stalk, but used some hydrangeas as my inspiration splash of color.  From there I added huge fuchsia mums (Costcos for $11.99…no joke) kale with a purple hue & a white pumpkin.  And to top it all off, these amazing Halloween lanterns with the purple glow!  (What would I do without Home Goods)

What house doesn’t need gargoyles?!?

So there you have it…my non-orange Halloween front porch!  I hope it has inspired you to think beyond the expected in your fall decorating.  Oh and my little friend Charlotte there, check back soon and I’ll show to create one of your very own!

3